Showing posts with label tips and techniques. Show all posts
Sunday, February 24, 2013
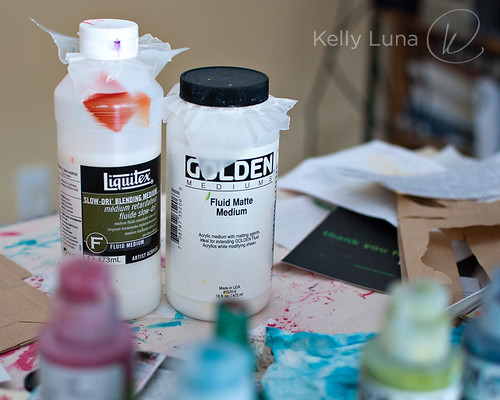
Quick Tip - How to keep lids from sticking
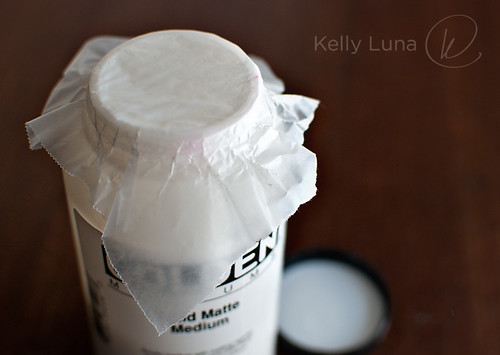
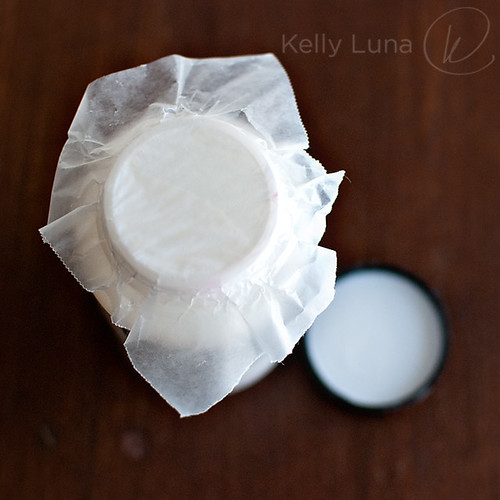
Here's a trick I came up with after battling one too many stuck lids.
Put a piece of wax paper between the lid and the bottle. The lid still screws on without problem and the wax paper keeps a barrier between the contents and the threads. No more sticking. Hooray!
Saturday, February 16, 2013
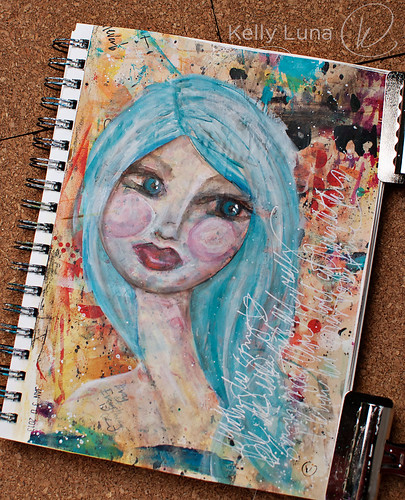
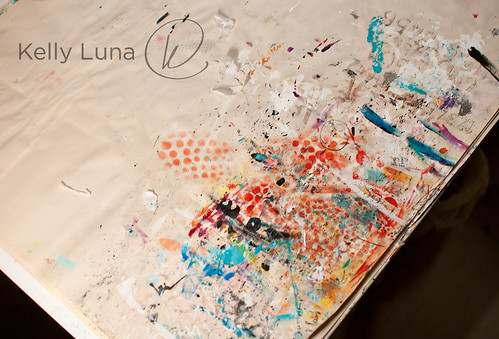
Easy Art Journal Background – Use Your Table Paper!
Here's a really easy way to create an "instant" background in your art journal - if you use paper to protect your work surface, that is. If you use a fancy wipeable one, you're on your own. ;)
I love how my paper looks after it's been thoroughly used. I hate to throw away such deliciousness, so I cut away the good parts and keep them handy for future use. One of the quickest and easiest things to do is use them as your ready-to-go art journal background.

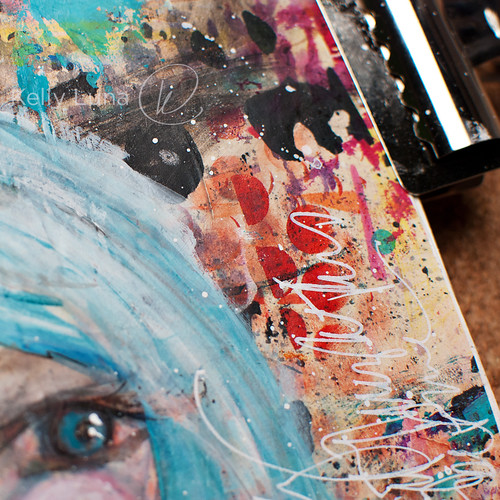
Slap it into your book with some gel medium under and on top and BAM! You're good to go.
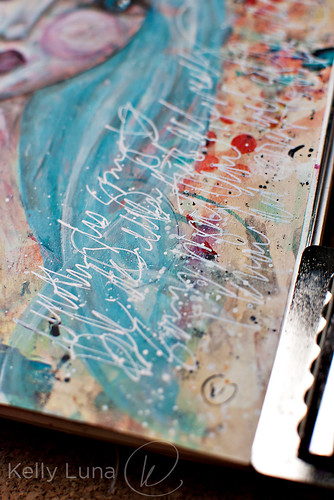
I didn't add anything to this background, just used it as is and added more paint on top for the face and used a Sharpie paint pen (extra fine) for the journaling.
I love how it turned out. Try it some time. It's a great way to get a jump start on your art journal page.
Saturday, July 14, 2012
Quick Tip – Using Partially Dried-out Modeling Paste

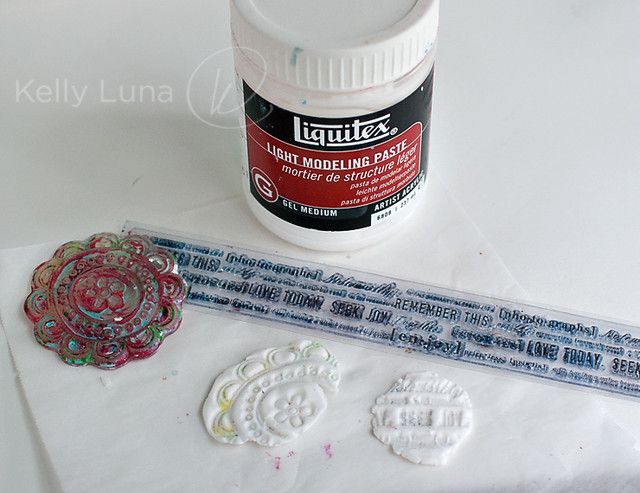
This is something I accidentally discovered today when I went to use my modeling paste on a work in progress. There was a big blob of paste on the edge of the jar left from the last time I'd used it where I'd scraped the leftover paste. Obviously I should have stirred the leftovers back down into the jar because that blob had dried out... but not all the way. I pulled it out to throw it away, but when I grabbed it, I realized it was the consistency of clay or play-dough.
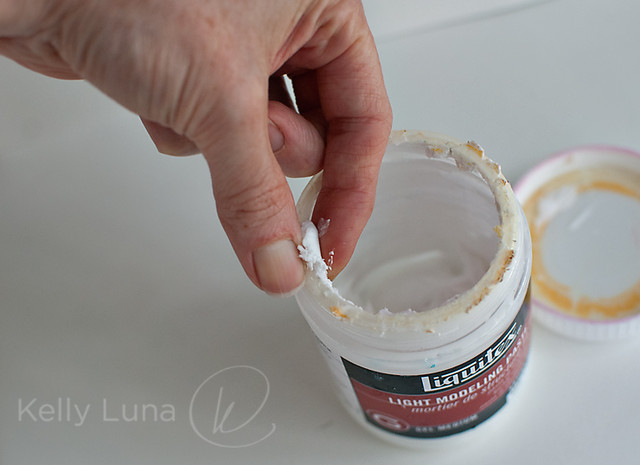

*lightbulb*
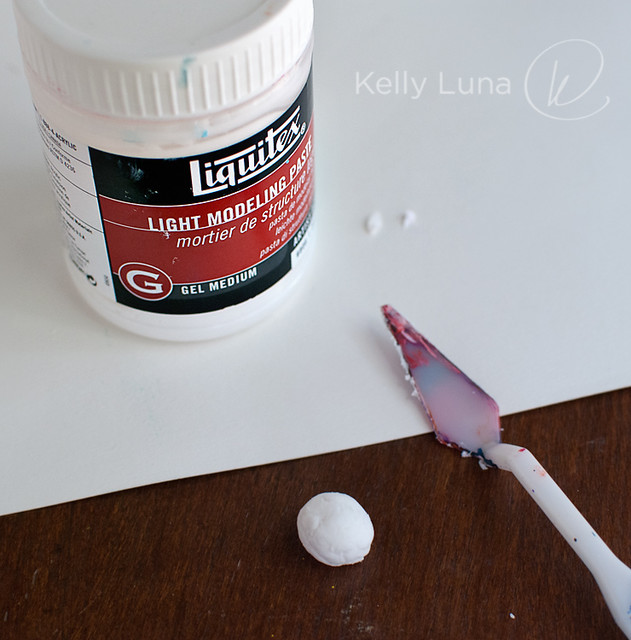
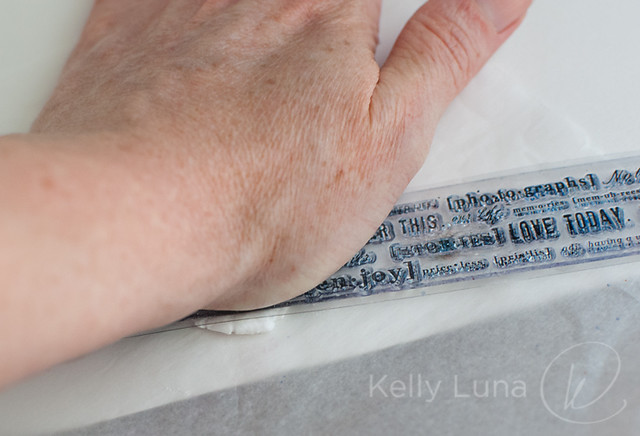
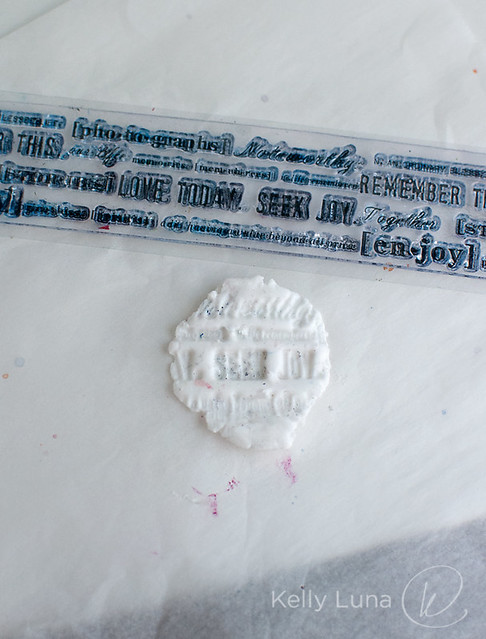
I squished it together, grabbed a stamp, and pushed it into the paste. I'll let it air dry then have it on hand for a future project. Ta-da! Fun dimensional piece using materials I had on hand and was just going to throw away.
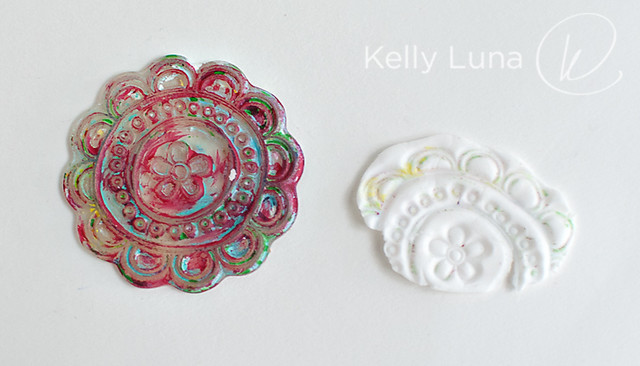
This is the original stamped piece I made with the large blob of paste. The one with the word stamp was done with paste I scraped from around the top edge of the jar using a pallet knife. As you can see, I use paint on my stamps and don't clean them very much. Ahem.
So, if you happened to have some mostly dried-out bits of modeling paste, give this a shot! You can attach the dried piece to a canvas or journal page, paint over it, layer with it - whatever you want.
*Just be sure you use LIGHT modeling paste because it will be flexible when dried and much easier to work with than regular or "heavy" modeling paste – that kind is very brittle when dry.
Subscribe to:
Posts (Atom)