Showing posts with label photography. Show all posts
Friday, September 23, 2016
Macro Lens + Flowers = Perfect Match
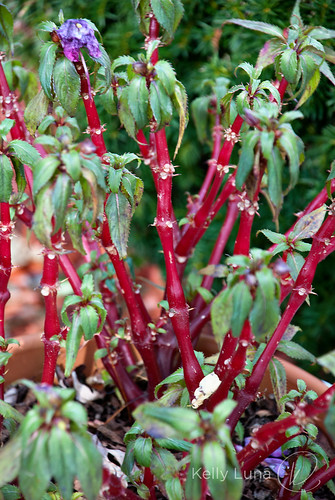
Flowers are one of my favorite photography subjects, and when you thrown a macro lens in the mix, it's downright magical.
I bought some cleomes last year and the self-seeded this year, so I got to enjoy them yet again. They are cool and weird and just plain beautiful.
I even managed to (kind of) catch a spider with its prey. Circle of life, yo.
Tuesday, October 21, 2014
Fall Leaves - Free Images
Leaves 1 (direct link to Dropbox file)
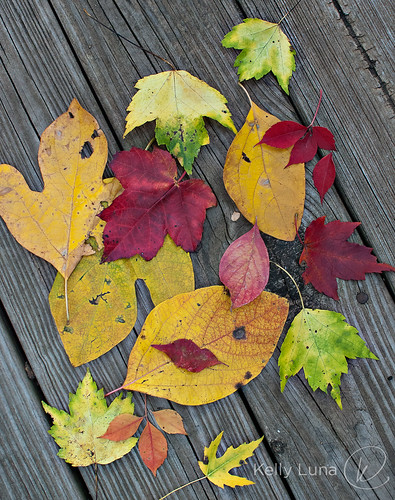
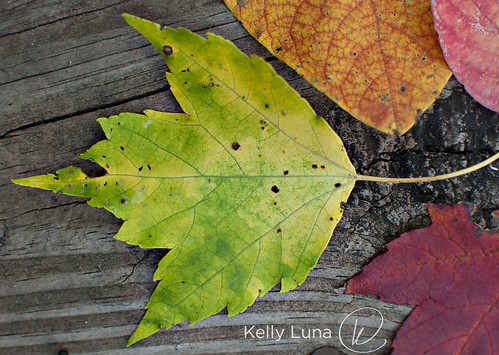
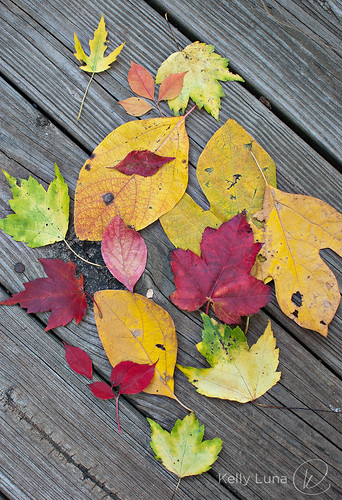
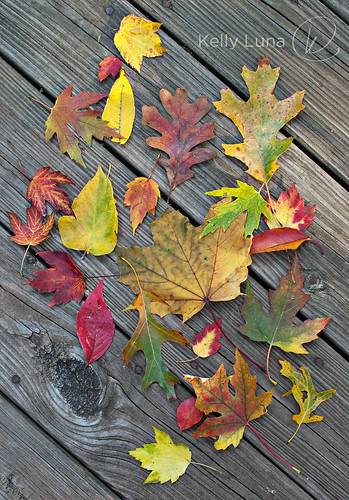
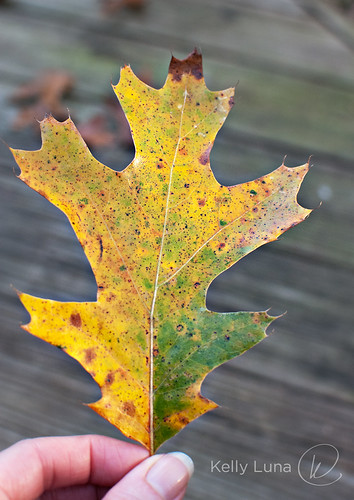
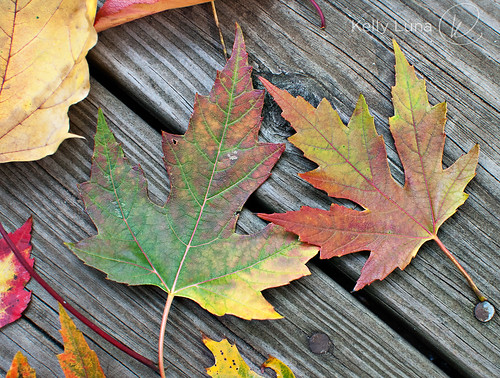
How's it going, fabulous peeps? I went for a walk yesterday as it was finally decent enough to do so. I saw so many beautiful leaves and I just couldn’t help picking some up along the way. I wondered how they would scan, and the answer is, they look AWESOME! I just had to share them with you. I’ve made them transparent PNG files, so you can layer them on othe backgrounds, or if you want to get fancy, you can pull individual leaves out using Photoshop or equivalent.
Leaves 2 (direct link to Dropbox file)
Use these however you want. GO NUTS. And feel free to put links in the comments so we can see your fab creations. Just be forewarned - these are large images (about 11MB each).
Happy Fall!
p.s. Check out Flickr for a few individual images.
Thursday, July 25, 2013
Vacation!
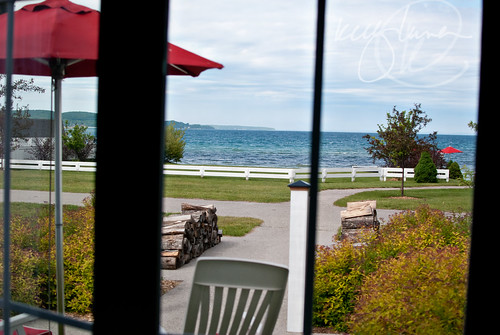
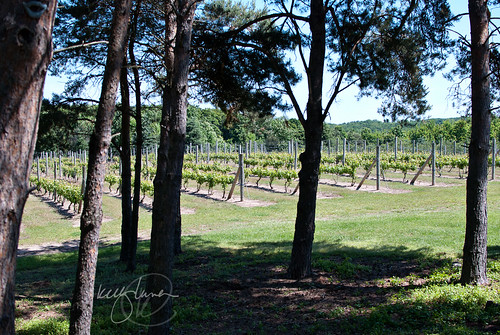
This year, for the first time since December 2006 (I think), Dwight and I took an honest-to-goodness vacation. Hooray for us! We decided to stay within driving distance, and fortunately for us, about 5 hours due north is one of the prettiest places I've been. Beautiful views of the always amazing Lake Michigan, more wineries than you would ever imagine were in one spot and the cutest little towns with nary a big-box store, national chain or fast food place in sight. Bliss.
Sunday, January 8, 2012
52 Week Photo Project — Week 1
I must admit, as much as I'd like to improve my photography, I just can't do a 365 photo project. I'm certain it would become a huge source of resentment despite the fact that it would probably improve the way I take and make photos. Once a week, though? Yeah, I can do that. A twitter friend, Rebecca (@hobnob) brought up the subject and I agreed that it would be a fun project. She found the LensProToGo 52 Week Photo Challenge and it looked the the perfect fit — once a week photo assignment, each week's theme announced at the beginning of the month.
Rebecca and I are Bread Baker's Apprentice "graduates" so this seems like a great way to participate in another group project. I'll be posting my photo each Sunday night in conjunction with the LensProToGo deadline. Be sure to kepp track of Rebecca's progress as well as mine!
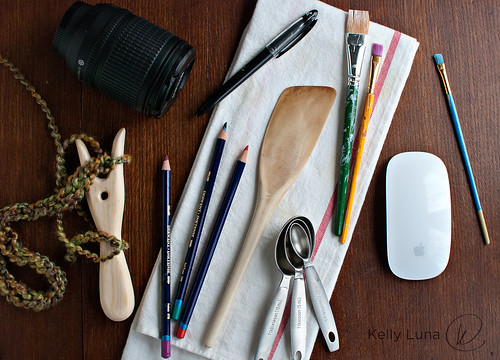
The first assignment is to make a self-portrait without you in the photo (something that represents you). I started by gathering various objects and put them on my art table. I took several shots, but they just looked like a big ole mess. I decided to pare down and just pick a few key tools. I'm much happier with how this turned out.

Baking, art, artsy-crafty, photography, being tied to my Mac - all seemed a good representation. What do you think?
See you again next Sunday for Week 2 assignment — "your front door."
Rebecca and I are Bread Baker's Apprentice "graduates" so this seems like a great way to participate in another group project. I'll be posting my photo each Sunday night in conjunction with the LensProToGo deadline. Be sure to kepp track of Rebecca's progress as well as mine!
The first assignment is to make a self-portrait without you in the photo (something that represents you). I started by gathering various objects and put them on my art table. I took several shots, but they just looked like a big ole mess. I decided to pare down and just pick a few key tools. I'm much happier with how this turned out.

Baking, art, artsy-crafty, photography, being tied to my Mac - all seemed a good representation. What do you think?
See you again next Sunday for Week 2 assignment — "your front door."
Sunday, November 27, 2011
Quick Photography Tip - Avoiding Shadows
I'm not even remotely a pro and honestly feel slightly weird giving photography advice, but I do know this. Where the light is coming from makes a huge difference in your photos. Here's a quick tip for avoiding unwanted shadows in direct sun.
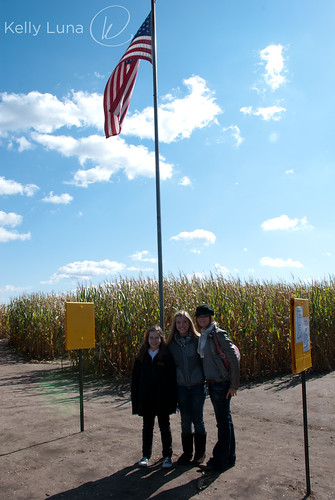
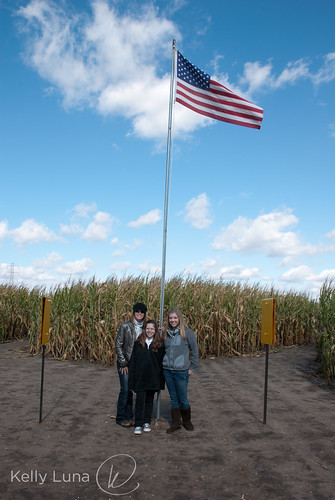
Remember my trip to the corn maze? It was a very sunny day. Which is both good and bad when it comes to photography. Harsh shadows are almost a given in direct sun, especially for someone like me that ISN'T an expert (and relies on Aperture Priority a tad more than I probably should).
I took this picture as we reached the center of the maze. This was direction we entered so I just said, "Stand in front of the flag" and I snapped the shot. Fortunately, I immediately saw my problem.
The sun was at their backs, which meant their faces are all in shadow. Look at the shadows on the ground. You can see how the light is hitting them. I'm also getting a weird lens flare in the left midground (see the green blob?) and the sky is all blown out because the meter is compensating for the shadows.
Easy fix - I moved so that the sun was at my back. You risk squinty faces with subjects looking into the sun, but it worked out here. They are no longer all in shadow. I could compensate for this in post-production because I shoot in RAW, but it's easier to get it right at the time. Plus there are no weird lens flares or blown out clouds.
In photography, light is everything. Use it to your advantage!
p.s. photos are pretty much straight out of the camera, so no post processing with these (sharpening, straightening, contrast, cropping, etc.).
Remember my trip to the corn maze? It was a very sunny day. Which is both good and bad when it comes to photography. Harsh shadows are almost a given in direct sun, especially for someone like me that ISN'T an expert (and relies on Aperture Priority a tad more than I probably should).
I took this picture as we reached the center of the maze. This was direction we entered so I just said, "Stand in front of the flag" and I snapped the shot. Fortunately, I immediately saw my problem.
The sun was at their backs, which meant their faces are all in shadow. Look at the shadows on the ground. You can see how the light is hitting them. I'm also getting a weird lens flare in the left midground (see the green blob?) and the sky is all blown out because the meter is compensating for the shadows.
Easy fix - I moved so that the sun was at my back. You risk squinty faces with subjects looking into the sun, but it worked out here. They are no longer all in shadow. I could compensate for this in post-production because I shoot in RAW, but it's easier to get it right at the time. Plus there are no weird lens flares or blown out clouds.
In photography, light is everything. Use it to your advantage!
p.s. photos are pretty much straight out of the camera, so no post processing with these (sharpening, straightening, contrast, cropping, etc.).
Sunday, November 13, 2011
Photo Walk - RED
Although I didn't mention it in the 6 'til 40 list I had in my post, one of the things I've wanted to do for a long time is go on a "photo walk." For me, that meant taking my camera when I went for one of my walks around the neighborhood. I was always concerned that I would look silly or people would think I was weird for walking around with my camera. Or worse - freak out that I had a camera and think I was a weirdo stalker-type taking pictures of their yard/house/sidewalk or canvasing the neighborhood with some evil intent. Yeah, I've got issues. But I have read about a few too many incidents where photographers were harassed or given grief over taking street photos. But I digress.
I decided that a photo walk would go on my list and on October 22, when the weather was just too nice to stay indoors, I decided to grab my camera and go for a walk. Before I did, though, I asked for suggestions on a theme for my walk on Twitter. My friend Barb piped up with "I vote Project Red." I thought, "Why not?" and headed out. I knew I'd find red leaves since it's autumn, but wasn't sure what else I would see. I needn't have feared. Having "red" running through my mind meant I saw it all around, like when you buy a new car and suddenly see that car everywhere.
I stepped outside my door and found red instantly.

And about five steps later, this:

I breathed a sigh of relief knowing that, hey! This isn't going to be as hard as I thought.


In fact, it was fun! Yes, there were plenty of red leaves.

But there were every day things I wouldn't have thought about had I not had the prompt.


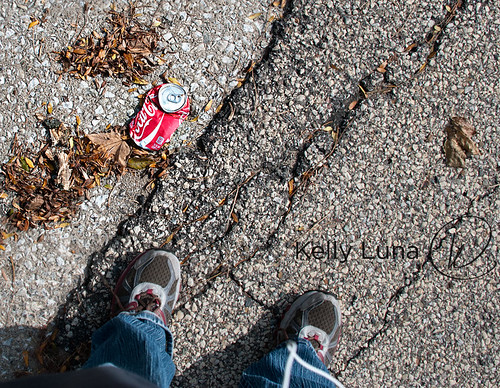
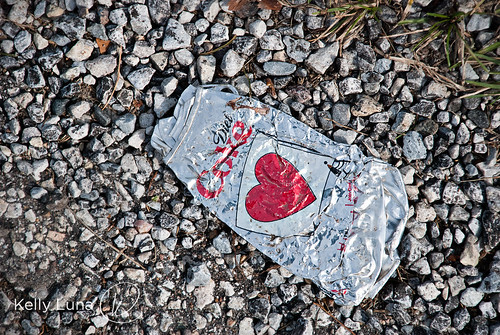
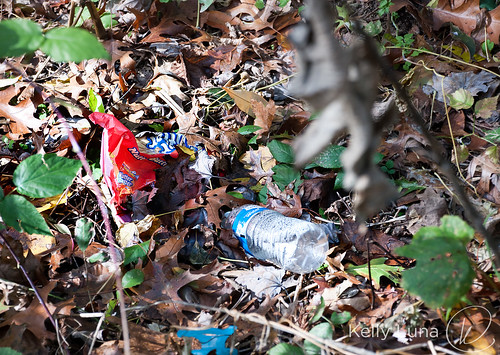
I even found a theme within a theme - red litter. Kind of depressing, not exactly elegant, but interesting (to me).


Dying flowers took on a new life:

Common driveway sights become inspiration:

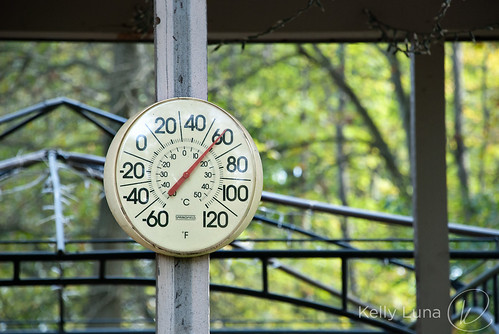
And when I looked at the temperature, I smiled... for a couple of reasons. *click*

This is part of my 6 'til 40 list – a list of things all the fun things I want to do but have been putting off. I plan to tick off an many of them as I can before April 2 to celebrate turning the big 4-0.
I decided that a photo walk would go on my list and on October 22, when the weather was just too nice to stay indoors, I decided to grab my camera and go for a walk. Before I did, though, I asked for suggestions on a theme for my walk on Twitter. My friend Barb piped up with "I vote Project Red." I thought, "Why not?" and headed out. I knew I'd find red leaves since it's autumn, but wasn't sure what else I would see. I needn't have feared. Having "red" running through my mind meant I saw it all around, like when you buy a new car and suddenly see that car everywhere.
I stepped outside my door and found red instantly.

And about five steps later, this:

I breathed a sigh of relief knowing that, hey! This isn't going to be as hard as I thought.


In fact, it was fun! Yes, there were plenty of red leaves.

But there were every day things I wouldn't have thought about had I not had the prompt.


I even found a theme within a theme - red litter. Kind of depressing, not exactly elegant, but interesting (to me).


Dying flowers took on a new life:

Common driveway sights become inspiration:

And when I looked at the temperature, I smiled... for a couple of reasons. *click*

* * * * * * * * * * * * * * * * * * * * * * * * * * * * * * * * * * * * * * * * * * * * *
This is part of my 6 'til 40 list – a list of things all the fun things I want to do but have been putting off. I plan to tick off an many of them as I can before April 2 to celebrate turning the big 4-0.
Wednesday, October 12, 2011
Sunday, October 9, 2011
Fall Colors

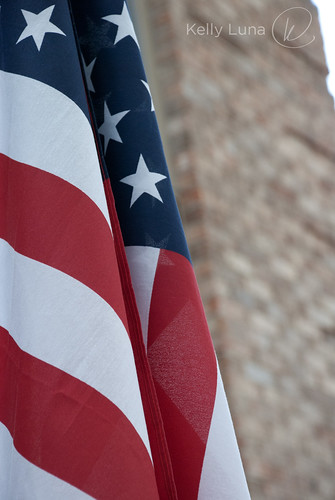
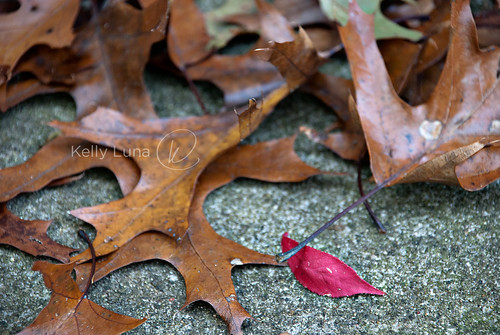
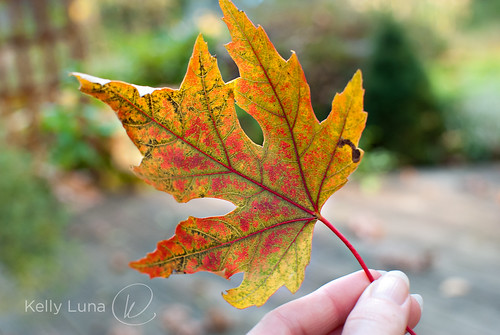
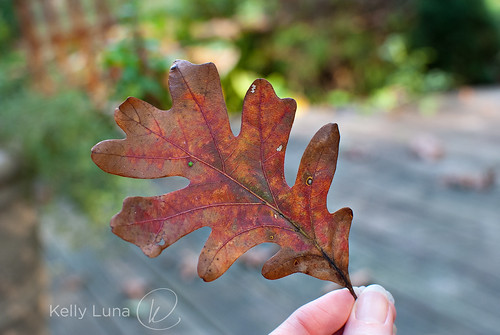
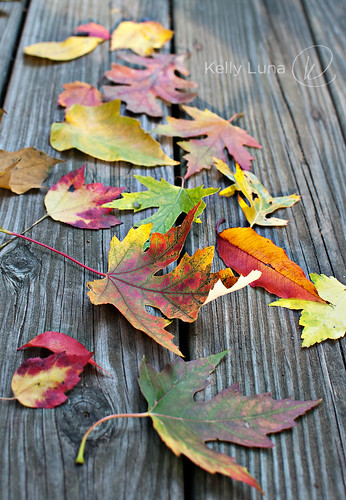
I just had to take photos of these beautiful leaves after I acquired them on a walk last Thursday. I couldn't help but pick up a leaf that caught my eye.

Then one turned into five, which turned into 15.

They were so pretty I just couldn't help myself. Leaves are changing fast and furious around here, and falling will equal vigor.

I hate to see them go, knowing that means winter is whispering in the background.

By my goodness, it certainly is breathtaking while it happens. Isn't fall wonderful?
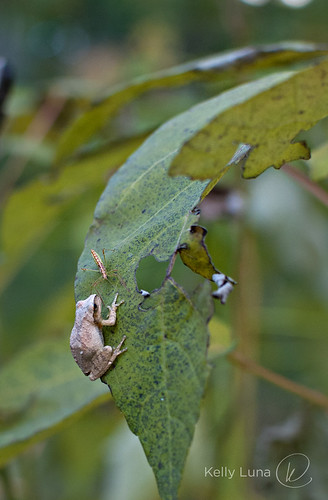
p.s. I saw some leaves move in our sad looking flower garden and knew it wasn't the wind. I went to investigate and found this little tree frog and his buddy. And by "buddy" I mean "dinner," at least that's what I assume Mr. Frog wanted with Mr. Bug. I got too close for Mr. Frog's comfort so he hopped off just after I took this photo.
Wednesday, December 22, 2010
Sunday, March 14, 2010
St. Patrick's Day Baking Extravaganza
Hang on. It's going to be a photo-filled post! Don't say I didn't warn you.
I actually planned ahead for St. Patrick's Day. Hey, it's as much of a shock to me as it is to you, trust me. I had a hankerin' to make sugar cookies and knew I wanted to send some to friends hither and yon, so I got to baking last weekend.
I knew which recipes to use and that I wanted to make shamrocks, but wasn't sure about how to decorate them. So I did some looking around and found this:
So cute! Now I had my inspiration, just had to execute. First, the recipes:
The Best Rolled Sugar Cookies
Allrecipes by Jill Saunders
Note: I halved this.
Ingredients
1 1/2 cups butter, softened
2 cups white sugar
4 eggs
1 teaspoon vanilla extract
5 cups all-purpose flour
2 teaspoons baking powder
1 teaspoon salt
Directions
In a large bowl, cream together butter and sugar until smooth. Beat in eggs and vanilla. Stir in the flour, baking powder, and salt. Cover, and chill dough for at least one hour (or overnight).
Preheat oven to 400 °F. Roll out dough on surface sprinkled with powdered sugar (won't make the dough tough like flour will) 1/4 to 1/2 inch thick. Cut into shapes with cookie cutter. Place cookies 1 inch apart on parchment lined cookie sheets.
Bake 6 to 8 minutes until JUST turning golden on the edges. Cool completely on racks before decorating.
If you want to keep these simple, just sprinkle them with decorator sugar, non-pareils or other decorating sprinkles before baking. These cookies are very good all on their own!
Royal Icing
Dries hard - makes for easy transport. Mine held up through a UPS trek to NY
Ingredients
3 tablespoons meringue powder
4 cups confectioners sugar
1 teaspoon pure vanilla extract (or other flavoring of choice - watch color though, it will tint the frosting)
6 tablespoons water (less for really thick icing, more for thin)
Directions
Combine all ingredients in mixing bowl. Beat on high for at about 10 minutes or until stiff peaks form.
Divide and color as desired. Add more water as needed for flooding or more sugar if you get a little heavy handed with the water.
Now for the pictures:

I divided the icing into thirds, keeping one white. The other two are as you see.

I outlined some in light green...

And some in darker green.
Here's a handy tip for filling bags. (I just use sandwich bags instead of decorator bags. Snip the corner and you're good to go.) Place the bag in a small drinking glass, pulling the edges over the sides. Fill with icing, twist the top, snip the corner and decorate. The icing is pretty runny though, so work quickly and try to keep the end pointed up.


Also, keep the bowls covered with damp towels. It will keep the icing from drying out. It will form a crust pretty quickly!
After the outlines have dried, it's time to flood the insides.

Smear it around with a tooth pick to get the icing to all of the edges.


Once the flooding dries, it's time to decorate. Rember the idea cookies? I loved the swirly one, but...

Hm. Not exactly like the picture, eh? I laughed and laughed, then moved on to a different attempt. I stuck with a checkerboard and dots. Even with just three colors and two "designs", I ended up with a nice looking mix.


Then I wrapped each one in plastic wrap, nestled them in a bed of crinkly paper and shipped them to well-deserving folks.

Round One COMPLETE!
This weekend was Round Two.
I knew I wanted to do cupcakes and quickly got my inspiration from Bakerella. I didn't use her recipe, but loved the GREEN!
Green Velvet Cupcakes
Slightly modified from Joy of Baking
Ingredients
2 1/2 cups sifted all purpose flour
1/2 teaspoon salt
2 tablespoons Dutch-processed cocoa powder
1 cup unsalted butter, at room temperature (original called for 1/2 cup - I had 2 sticks ready so I used both. Stick with original for lower fat option.)
1 1/2 cups granulated white sugar
2 large eggs
1 teaspoon pure vanilla extract
1 cup (240 ml) buttermilk (I used powdered buttermilk. Add powder to dry ingredients, add water when adding wet)
1 oz (one bottle) liquid green food coloring (see pic below)
1 teaspoon white distilled vinegar (used white wine vinegar-didn't have any distilled on hand)
1 teaspoon baking soda
Directions
Preheat oven to 350°F.
Combine flour, cocoa and butter in medium bowl. Set aside.
In mixing bowl, beat butter until smooth and light. Add sugar. Beat until fluffy. Add eggs one at a time, beating well between each and scraping down sides of bowl. Add vanilla. Add food color to buttermilk (or water if using buttermilk powder).
Alternately add flour mixture with buttermilk/color beginning and ending with flour, beating well each time. Mix SLOOOWLY to start when adding the liquid. Otherwise it will splash and get green food color everywhere. (It's a good idea to wear an apron or at least something that won't be ruined if you get food color on it.)
In small bowl or measuring cup, dissolve soda in vinegar. It will bubble (yay, chemistry) quickly add to batter, just folding in until incorporated - don't beat in.
Divide into 2 prepared 9" cake pans or cupcake liners. I got 12 cupcakes and a single 9" layer.
Bake cake approximately 25 minutes or until toothpick comes clean. Cupcakes will only take about 15 minutes. Ovens vary, so keep an eye on them. The might need more or less time. Cool in pans about 10 minutes then transfer to racks. Cool completely before decorating (or turning into cake pops).
The Best Buttercream Frosting EVER
I used this on my niece's birthday cake. It's da BOMB.


Woo-Chemical reaction in progress! And really, that's what baking is all about.

Now THAT's green!

The large Pampered Chef scoop works great for cupcakes.


I used plain white frosting first, but decided I need a bit of color to make the white sprinkles show more.


Dip a clean toothpick in the gel color, smear into the frosting and mix. A nice, pale green, just what I wanted. Obviously you can add more if you want a deeper shade. Go crazy!

Better! And I got to use my cupcake stand - so fun.

Next up — CAKE POPS!
Take the 9" cake, crumble, add frosting (about a 3/4-1 cup), mix, scoop.

Roll.


Melt.
Skewer.

Dip.

Decorate.


Eat.

If you didn't get enough pictures here, head over to my Flickr photstream for even more. (Yes, there are more!)
And if you're wondering about the wood stand in the group cake pop photos, stay tuned. I'll be posting a "How-To" on that later this week.
Subscribe to:
Posts (Atom)