Showing posts with label cupcakes. Show all posts

Monday, September 20, 2010

Guest Post - Tiffany Inspired Cupcakes

holdingcupcake


After my Dangerously Decadent Cupcakes got some exposure from Cupcakes Take The Cake (and tumblr) I got an email from Jeris Donovan, the woman behind Sahmmy.com, "a monthly Ezine of comic blogs by comics, comic writers, and actors who are now parents."


September is sahmmy.com's one year anniversary and Jeris asked me to come up with a cupcake to mark the celebration. I thought quite a bit about it and decided to go with a Tiffany-esque cupcake, because who wouldn't like a little something from Tiffany's on her anniversary?


Head on over to sahmmy.com and check out the post. A link to printable recipes isn't working properly on the guest post, so you can access it HERE. (I noticed a typo in the printable recipe. I referenced "baking soda" in the directions but it should be "baking powder" as listed in the ingredients.)


In the mean time, here are a few images from process. Enjoy!


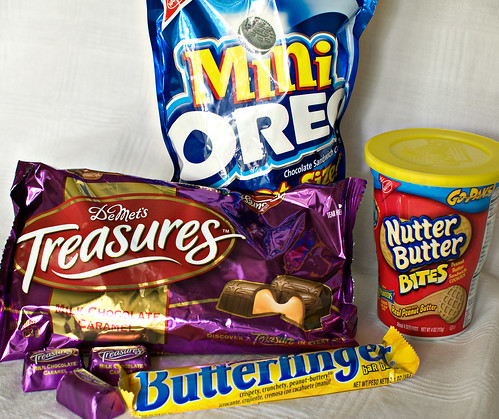
TCC-fillings


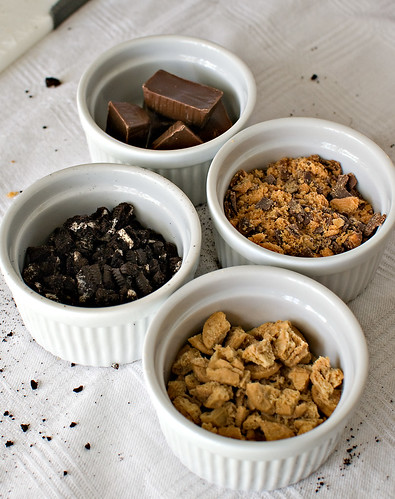
TCC-fillings-crushed


TCC-topped-baked


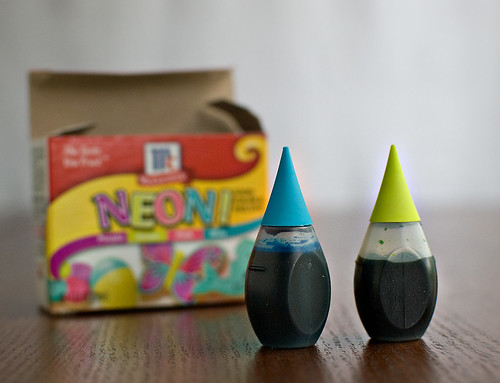
neon food color-bg


icing styles
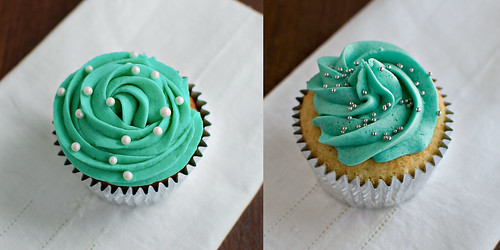
Here are two ways to pipe frosting, both using the 1M tip. Left is shown starting from the center and winding out. Right is starting from the outside and working in. 


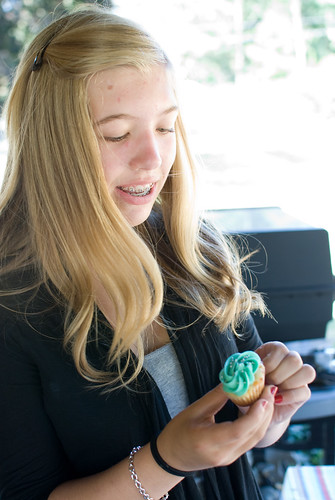
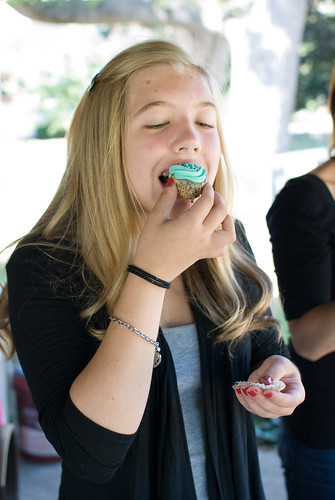
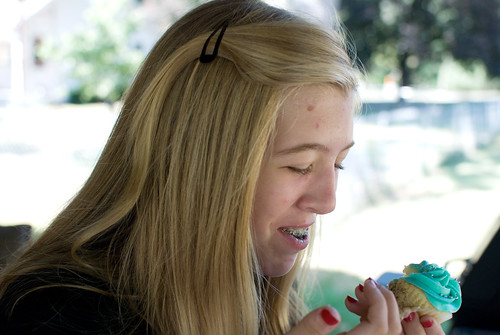
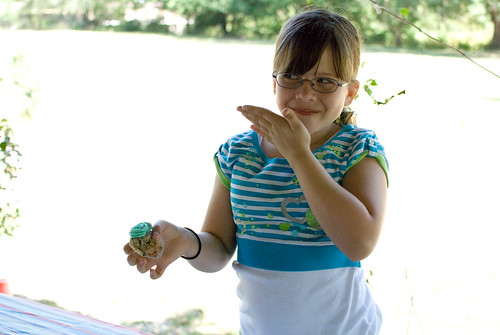
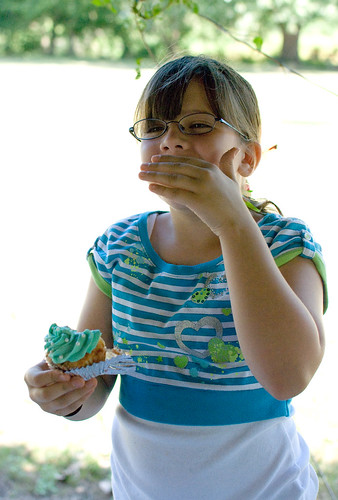
I asked my nieces to taste test the various flavors to determine their favorite. Yeah, I'm the best aunt ever. (The chocolate caramel candies were the hands down fave, followed closely by Butterfinger.)
k-1st cupcake


TCC-K-eating


K-surprise


TCC-M


TCC_M-eating


TCC_M-face

Saturday, September 11, 2010

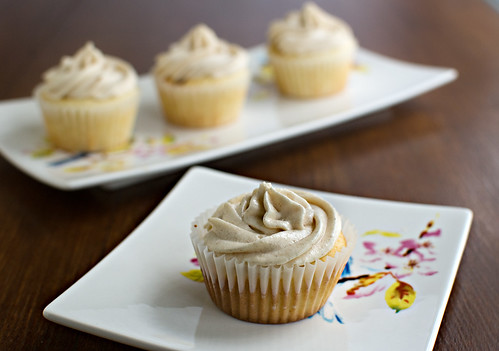
Caramel Apple Cupcakes

carm-apple-cc

As much as I hate to admit it, summer is coming to a close. Some might say it's over. I say, "Shut up" because even though I do love fall, it's far, far too short. And then it's winter. But I'm going to go all Scarlett O'Hara and not think about that right now. Let's focus on the joy that is fall.

Cooler temps, no more A/C, windows open, and fall flavors. They are my favorites. Warm, spicy, inviting. So with that in mind, I did some baking last weekend and had some leftover cinnamon cream cheese buttercream frosting. What's a girl to do? Make caramel apple cupcakes, of course.


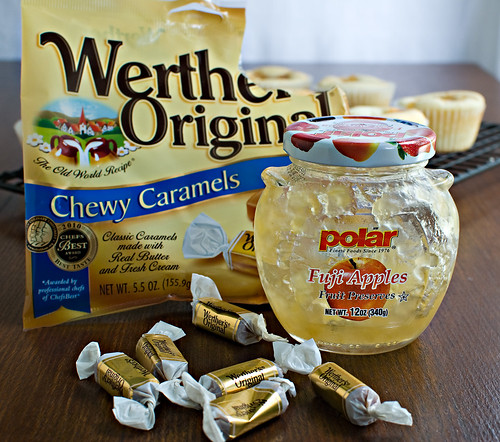
Caramels-apple preserves

carm-apple-cc-baked-closeup


While these were very good — I had some really nice complements from my co-workers — I will be tweaking the recipe, mostly having to do with the caramel. I used Werther's soft caramels, and while they melted nicely in the oven, they set back up once cooled creating a much more solid caramel experience that I would have liked. Even so, they were super tasty, so here's the recipe.

carm-apple-cc-insides2


Yellow Cake
This is basically 1-2-3-4 cake cut in half. I didn't have lots of frosting left over 
and didn't need a ton of cupcakes just lying around.

Ingredients
1 stick (1/2 cup/4 oz) butter, room temperature
3/4 cup sugar
2 eggs
1 tsp vanilla
1-1/2 cups all-purpose flour
1-1/2 tsps baking powder
1/2 cup milk

Filling
Apple preserves
Caramels

Directions
1. Preheat oven to 350°F. Line cupcake pans with liners.
2. In separate bowl, whisk flour and baking powder together.
3. In large mixing bowl or bowl of stand mixer, beat butter until smooth. Add sugar and beat until light and fluffy, scraping sides of bowl as necessary. This will take a few minutes.
4. Add eggs one at a time, beating for at least 1 minute between, scraping bowl before adding each egg. Add vanilla and beat until combined.
5. Add milk and beat well. Ditto for the flour. Beat until light and fluffy.
6. Scoop into prepared cupcake tins, filling 2/3 to 3/4 full.
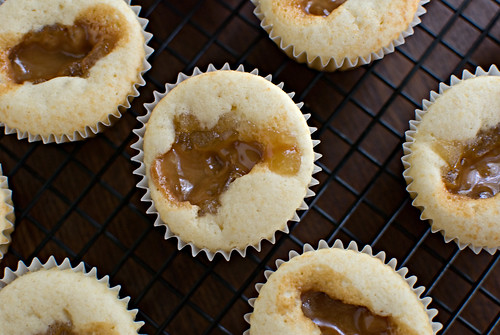
7. Place 1 heaping teaspoon of preserves in the center of each cupcake. Place 1 caramel on top of the preserves pressing lightly to flatten the batter slightly.
8. Bake for 15-20 minutes until tops are lightly brown.
9. Cool in pans on racks for 10 minutes. Remove from pans and cool completely on wire racks before frosting.


Cinnamon Cream Cheese Buttercream Frosting
This recipe made enough to generously frost approx 24 cupcakes. If you find yourself with leftovers, I was thinking it would be amazing on cinnamon rolls or pancakes.

Ingredients
4 oz (1/2 block) cream cheese, room temperature
1 stick (4 oz) butter, room temperature
1 tsp vanilla
3-4 cups powdered sugar
1/2 tsp cinnamon
1/2 tsp Penzey’s Cake Spice (or just add more cinnamon)
1/3 cup heavy whipping cream

Directions
Beat butter thoroughly until smooth. Scrape bowl and add 1 cup sugar beating thoroughly. Add vanilla; beat. Add remaining 2 more cups sugar and mix until combined. Add cream and beat on high until light and fluffy. This will take a few minutes and you’ll need to scrape the bowl a few times during the process. If the mix seems too thin, add more sugar a little at a time until it reaches piping consistency. If it’s too thick, add more cream (or milk).


Printable recipe here.

Tuesday, August 3, 2010

Dangerously Decadent Cupcakes

ChPBCC-crumb2

I had to come up with a shorter name for these cupcakes because "Dark Chocolate Cupcakes with Dark Chocolate Reese's Peanut Butter Cup Center and Peanut Butter Frosting Dipped in Homemade Magic Shell" is technically correct but WAAAAY too long, don't you think?

Besides, Dangerously Decadent Cupcakes is also accurate given the various individual and combined components. I'm pretty sure these should come with a warning. Something like: These are so rich and delicious, you are advised to eat at your own risk; death by cupcake is not out of the realm of possibility.

Dwight and I were invited to a cookout last Saturday which gave me the perfect opportunity to test out a cupcake idea on some willing guinea pigs. I've found that most people don't really care that you're testing a recipe on them, especially if it involves cupcakes. And chocolate. And peanut butter. So I looked up some recipes, combined various ideas together and came up with these.
ChPBCC-styled-top

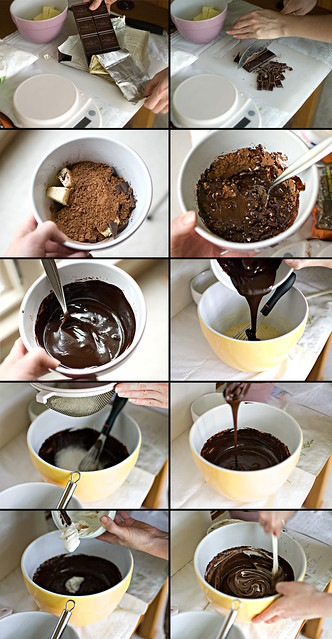
I'll list the recipes below and provide a link for a printable recipe as well (NEW FEATURE ALERT). I plan on adding printable recipes to archived posts, but it'll take me some time. In the mean time, I've condensed the ridiculous amount of photos I took into some collages. Individual photos are at my flickr photostream if you just can't get enough choco-peanut butter goodness.
cake collage

First things first: The Cake. I found this recipe from Cook's Illustrated featured on a number of blogs. It comes together a bit like homemade brownies, using bittersweet chocolate, cocoa and butter all melted together then added to an egg-sugar mix. Next, you add the rest of the ingredients, the usual suspects like flour and leaveners, but this recipe also includes sour cream. Another level of richness to an already heady lineup of ingredients.
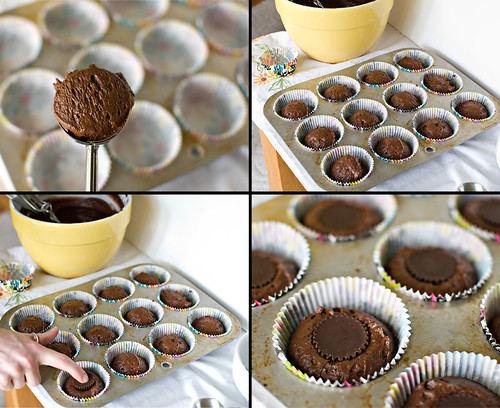
filling-pressing

As you can see, the batter is very thick and almost fluffy. It's not like a typical cake batter. I used my large Pampered Chef scoop to get the batter into the paper liners (which are adorable, don't you think? psst...I got them at Michael's).
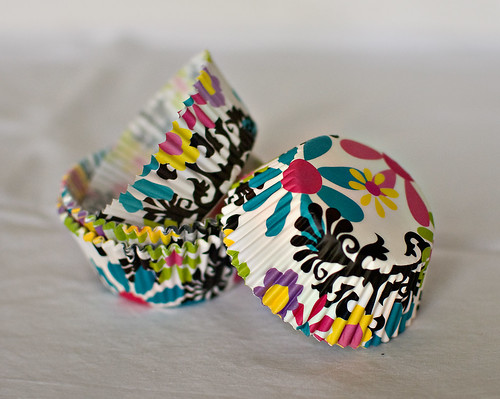
ChPBCC-liners

But did you see what I tucked in the batter? Mini Reese's Peanut Butter Cups. I used the dark chocolate ones, but you can use regular, if you prefer. Based on a suggestion I found while browsing for recipes, you can freeze them for 20-30 minutes prior to baking. I did, but I'm not sure what difference it made. Maybe the centers would melt a bit if left room temp? As it was, mine stayed pretty much "as is" except the outer chocolate melted, creating these cute little divots.
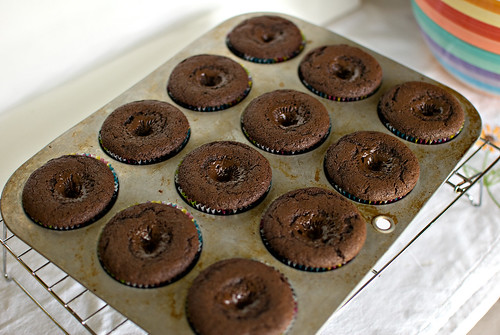
ChPBCC-baked

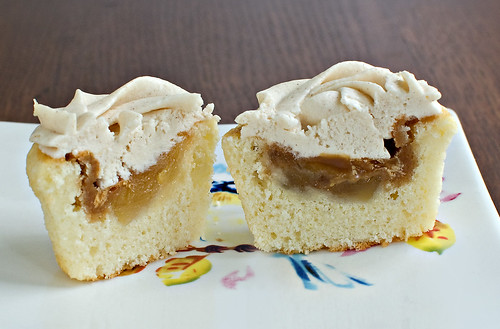
These divots are evident when you cut down the center like I did for the first photo. When you're shoving them in your face, though, you never even know it's there. You could easily pipe a dollop of frosting in there first then pipe the swirl if you just can't handle the thought of there being even a smidge of wasted frosting coverage.

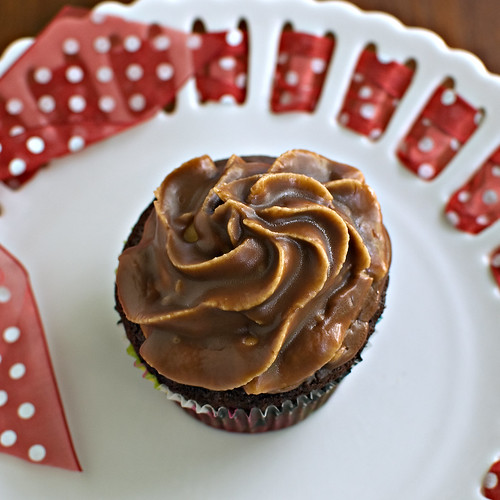
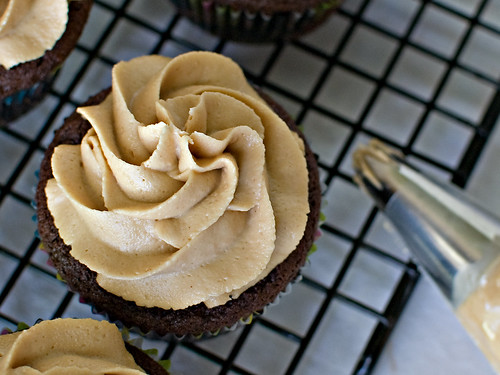
Next came The Frosting. Oh, my. This frosting. It's incredible. It's made of butter, peanut butter, powdered sugar and whipping cream — what's not to like?
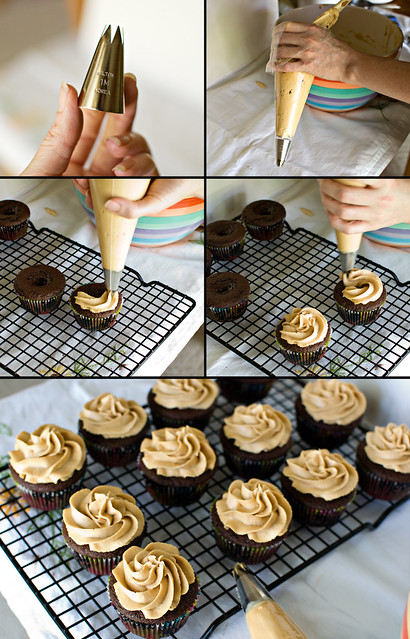
tip-frostingtech

I used my Wilton 1M tip, filled a disposable bag, and went to town.

Heaven, whipped into a pale golden fluff.
ChPBCC-frosted-close-top

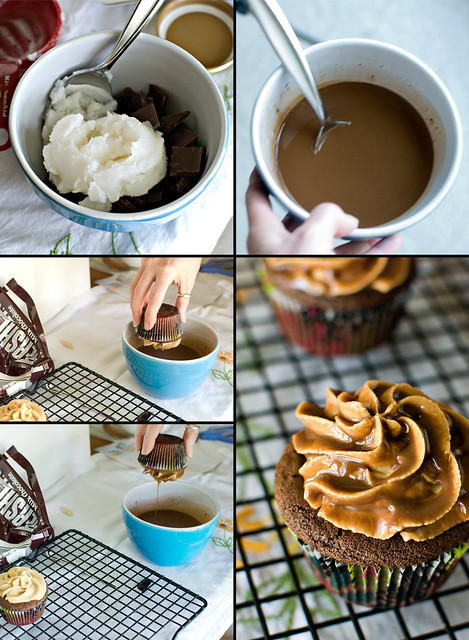
 If I'd stopped right there, these would still be amazing. But I had an idea – take the peanut butter cup idea and apply it to the frosting. Let's dip 'em in chocolate coating. So I went looking for a homemade "magic shell" kind of recipe. I knew they were out there (Google it - there are a number of variations) but what surprised me was that the secret ingredient wasn't paraffin–my suspicion–but coconut oil. Why coconut oil, you ask? Well, because it's solid at room temperature. It's melting point is 76°F so keep it below that, and you've got a (relatively) solid chocolate shell. Granted, it stays much more solid on something really cold like ice cream, but put the cupcakes in the freezer before dipping and keep them in the fridge after, and you're good to go. (Which also means this wasn't the BEST idea for a cookout recipe, but I didn't hear any complaints.)
dip collage

(Oh, goodness. All of that dipping took me back to my Dairy Queen days—back in the olden days. You know, High School.) The dip was a little thin, but Dwight had the best idea "Why not dip them twice?" Done and done.

ChPBCC-magicshell-DblDip

I packed them into my (really crappy) cupcake carrier and we headed off to the cookout.
eating collage

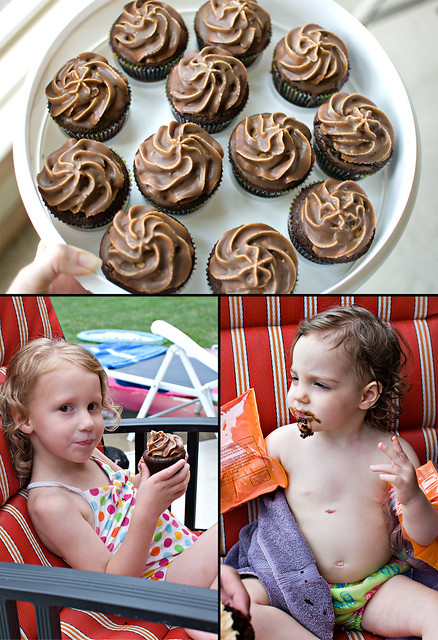
They were a big hit, with kids...

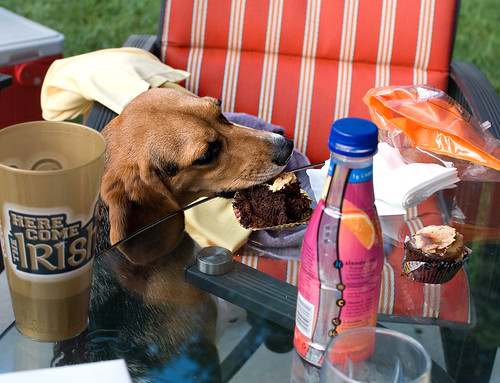
ChPBCC-dog-eating
and dogs alike. (Don't worry, she only had a some of the frosting, and a tiny bit of chocolate.)


Now let's get to the recipes!

Dark Chocolate Cupcakes 
(with Reese’s PB Cup Center)
Adapted from Cook’s Illustrated
Makes approx 12 (I got 15 out of it with plenty of batter left on the sides of the bowl for me to enjoy. What?)

Ingredients
8 Tbsp unsalted butter
2 oz bittersweet chocolate, roughly chopped (I used Ghiradelli)
1/2 cup (1.5 oz) Dutch processed cocoa (or regular if that’s what you’ve got handy)
3/4 cup (3.75 oz) All-purpose flour
1/2 tsp baking soda
3/4 tsp baking powder
2 eggs
3/4 cup (5.25 oz) granulated sugar
1/2 tsp salt
1/2 cup (4 oz) sour cream (you could use reduced fat, but really…why bother)
12-15 mini Reese’s Peanut Butter Cups

Directions
Preheat oven to 350°F. Line tin with cupcake liners.

Combine butter, chopped chocolate and cocoa in a small bowl. Microwave 30 seconds then stir. Microwave at 15 second intervals until smooth. (It only took me the first 30 seconds plus 15 more before it was smooth and glossy.) Don’t overheat! Alternately, you can get fancy and use a double boiler, or a glass bowl over a pot of simmering water.

Cool until barely warm.

In small bowl, combine flour, soda and powder.

In a medium-ish bowl, beat the eggs then whisk in the sugar and salt. Add the cooled chocolate mix, beating until smooth and well combined. Sift 1/3 of the flour mixture into the chocolate mixture. Whisk until fully combined. Add sour cream, mixing well, then add remaining flour mixture, whisking till flour is fully incorporated and batter is thick.

Scoop batter into lined tins using you preferred method—spoon, ice cream scoop, measuring cup. Place a mini Reese’s cup in the center of each cake. Press into the batter until nearly level with the top.

Bake 15-20 minutes (original recipe said 18-20 but mine were most definitely done at 15 minutes). Check doneness with toothpick. If it comes out clean, you’re good.

Cool for 5-10 minutes in the pan, then move to a wire rack to cool thoroughly before frosting.

Printable Recipe Here


Fluffy Peanut Butter Frosting
Adapted from browneyedbaker.com
Easily covers 18 cupcakes, and that’s if you have a heavy hand.

Ingredients
1 cup creamy peanut butter
5 Tbsp unsalted butter
2 cups powdered sugar
1/2 - 2/3 cup whipping cream (heavy cream) adjust as necessary - add more if it looks like it needs it. Go wild.

Directions
Beat peanut butter, butter and powdered sugar until thoroughly combined. Add cream and beat until light and fluffy. Give it a few minutes to get nice and pale and lovely. Lick the beaters. No, really. Do it. It’ll make you feel like a kid again.

Spread onto cooled cupcakes or pipe with your preferred decorating tip.


Homemade Magic Shell
Adapted from Confessions of a Cookbook Queen

Ingredients
3 regular size Hershey bars, broken into smaller bits
1/2 cup coconut oil

Directions
Combine chocolate and oil in small, deep bowl. Microwave for 30 seconds. The oil will have melted, but the chocolate will still be partially solid. Microwave at 15 second intervals until the mixture is smooth. It won’t take long.

Pour over ice cream or dip frosted cupcakes that have been in the freezer at least 15 minutes. Take cupcakes out just a few at a time. If you’re double dipping, place cupcakes back in the freezer for a few minutes before re-dipping.

Enjoy! Sure, it’s not exactly health food, but it’s got to be at least a little better for you than the processed stuff in a squeeze bottle.

Just for the record, I had plenty of this left over after double dipping 12 cupcakes–a good 1/2 cup or more left. It’ll keep in the pantry for a while, but if you put it in the fridge, it’ll turn solid and you’ll need to nuke it before using.

Printable Recipe Here

********************
I hope you made it all the way through that post; it was a whopper. And let me know what you think of the printable recipes. Do you want them with pics, or do you prefer text only. What about the size? Is full page good, or do you prefer recipe cards? 


Let me know in the comments!

Sunday, August 23, 2009

Ganache-Filled Vanilla Bean Cupcakes with Ganache-Dipped Strawberries


First things first, I want to give a shout out to Stephanie at Wasabimon for the inspiration for these cupcakes. Stephanie is a fabulous food blogger with gorgeous photography and tons of great recipes, many gluten-free. I know plenty of people out there have gluten allergies, including my sister, so it's nice to have resources like Wasabimon out there.

No beating about the bush with this post, we're going to get right to it. The title is a mouthful as are the cupcakes. And OH, what a mouthful they are. Here's how to make your own.


The Recipes

Vanilla Bean Cupcakes
reproduced with permission from Rachel Rappaport, Coconut & Lime
Thanks, Rachel!

  • 2 cups flour
  • 1 cup sugar
  • 3/4 cup milk
  • 1/2 cup butter, at room temperature
  • 1 egg, at room temperature
  • 1 vanilla bean, cut length-wise
  • 2 teaspoons baking powder
  • 1 teaspoon salt

Directions:

In a small saucepan, heat the milk and vanilla bean together until the milk just boils. Remove from heat and let cool for about 1 hour. Then remove the vanilla bean. Scrape out the seeds from the vanilla bean and add them to the milk. Discard the remaining bean pod. Meanwhile, preheat the oven to 350. In a medium bowl, whisk together the salt, flour and baking powder. In a large bowl, cream together butter and sugar until light and fluffy. Add egg and beat well. Alternately add the flour and milk mixture until well combined. Divide batter into about 20 lined or greased cupcake wells. Bake 15-20 minutes or until a toothpick inserted in the middle of the middle cupcake comes out clean. Cool on a wire rack and then ice.


Vanilla Bean Buttercream Frosting
  • 1 lb. confectioners' sugar
  • 1/2 c. butter, softened
  • 1 tsp. vanilla extract
  • 1 Vanilla bean, scraped
  • 3 tbsp. milk
Beat together sugar, butter, vanilla, seeds from vanilla bean and milk until smooth. If necessary add more milk until frosting is spreading/piping consistency.


Ganache (feel free to halve!)
adapted from Alton Brown, Food Network

  • 3 tablespoons corn syrup
  • 6 ounces heavy cream
  • 12 ounces dark chocolate, chopped into small pieces
Put chopped chocolate in heat-proof bowl. In a small saucepan, combine the corn syrup and heavy cream. Bring to a simmer. Pour over chocolate. Stir until smooth. Cool to room temperature before using.

Bring it all together

After the cupcakes and ganache have cooled, fill a pastry bag fitted with a small star tip with the ganache. Push the tip all the way into the cupcake and gently squeeze the bag until the top of the cupcake rises and the ganache starts to push back. It will pop out of the top a bit. No problem. You'll be covering that up with the buttercream. Speaking of...

After filling all of the cakes, clean out the pastry bag and tip and fill with the buttercream. Pipe as you see in the photos, or in your preferred style.

Clean and dry your strawberries. Gently reheat your ganache in the microwave until it's just thin enough to allow for dipping. You don't want it too thin or warm, just just a few seconds should do it.

Take the berries by the tops, dip and swirl in the ganache. Let most of the extra to fall back into the bowl, then gently place the berry on top of the cupcake, pushing part way into the buttercream. The little bit of extra ganache will puddle on top of the frosting.

Pop in the fridge if not eating immediately. Remove from fridge at least 20 minutes prior to serving so that they're not cold.

Trust me. These are as good as they look. The cupcake recipe is so easy and oh-my-goodness delicious. It would be great with just about any frosting/flavor combo you can dream up. The ganache filling and dipped strawberries really put these over the top.
Related Posts Plugin for WordPress, Blogger...