Showing posts with label crafts. Show all posts

Tuesday, May 27, 2014

The Weekend in Pictures

I could get used to three day weekends. Really, really used to them! Here's a glimpse of some of the things I saw and did this weekend.

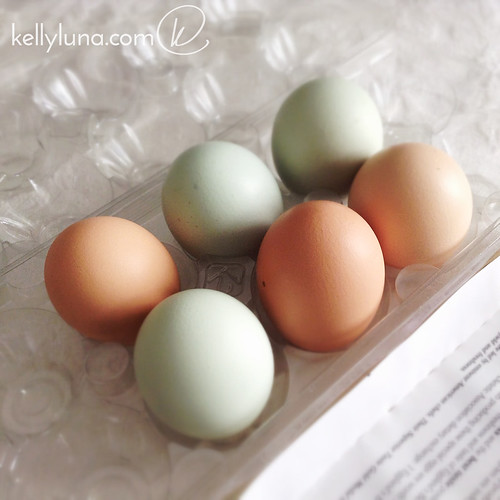
eggs

We had friends over for dinner Saturday night. They brought us these gorgeous eggs. Now I want to keep chickens even more. Dwight is opposed, but I'll win him over whenever we move to our dream home in the country. We had a few of them for breakfast the next morning. Delicious!
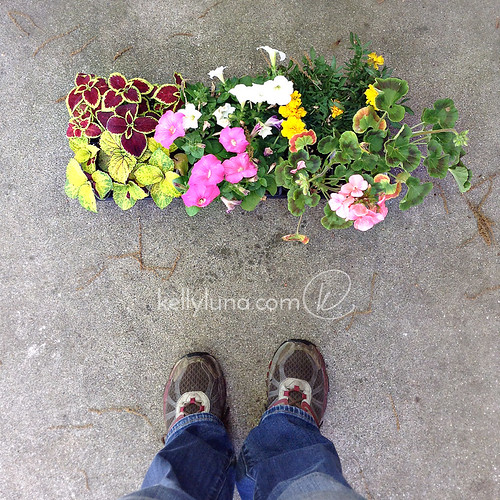
annuals

Just before breakfast, though, we made a quick trip to Lowe's to pick up annuals. We hoped to get mulch, but they were out. Oops. We got just one flat of annuals this year, and I also picked up some herbs - Greek oregano, spicy globe basil, and sweet mint. Gotta have my fresh mojitos this summer!
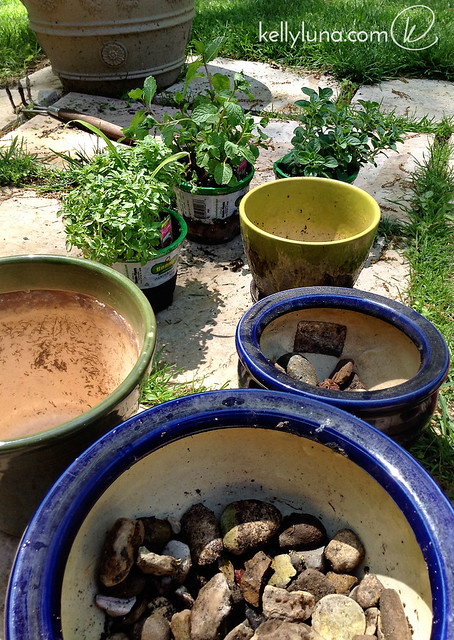
herbs

Dwight grabbed a large container of catmint. Have to think of the kitties, too!
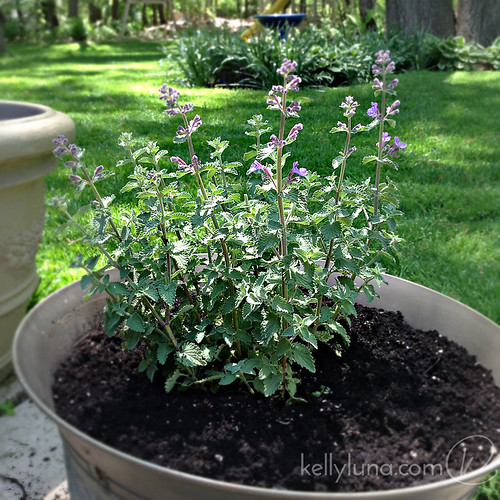
catmint

Dwight mentioned that he saw some poison ivy in a flower bed at the front of our yard, so I grabbed the poison ivy killer and searched it out. Wasn't hard to find; there was a ton of it, all in this bed filled with snowdrops (still going strong, even this late in the season).
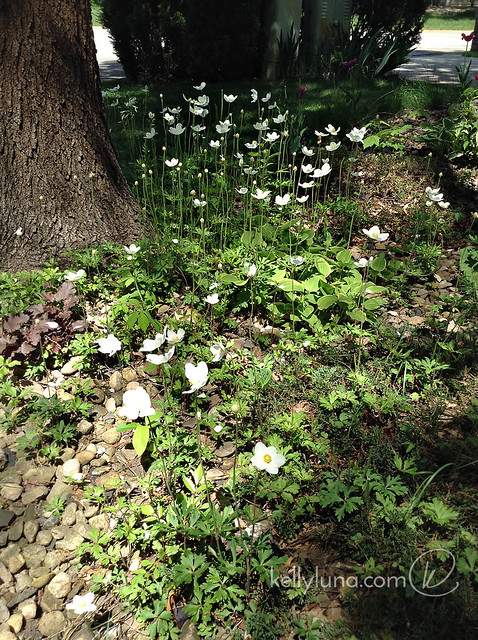
snowdrops

I had a run in with poison ivy last year, and I didn't want a repeat. It wasn't bad, just a bit on my right wrist and forearm - but it was enough. KILL THE IVY!
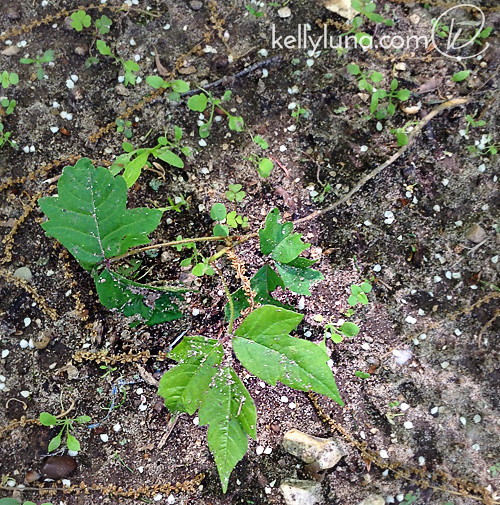
poison ivy

Our yard is very shady. Like, ridiculously so. It makes growing a variety of plants a challenge, to say the least. However, it does make our back yard look like a park, so I sort of fall in love with it this time each year. I mean, come on. How can I not appreciate THIS?
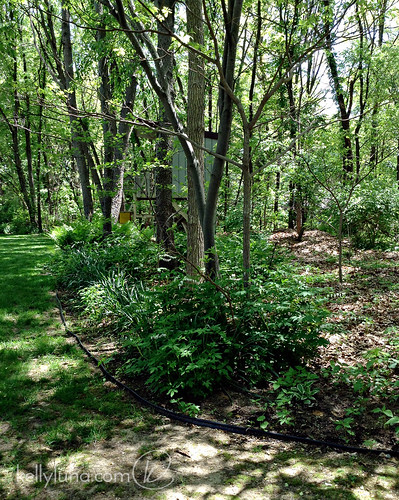
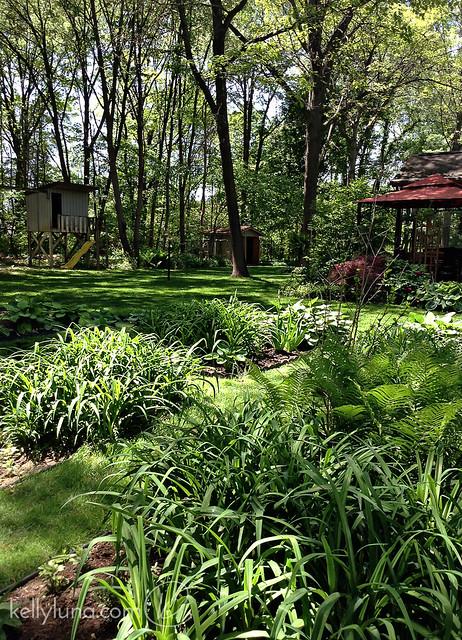
back woods

backyard

I have to admit, we can grow the crap out of hostas, ferns, and bleeding hearts, so that's something.

pink bleeding hearts

The hydrangeas and rhododendrons  seem to like it, too, despite getting seriously zapped this winter. The snow up to the keester and super frigid temps meant losing one decorative tree, and our hydrangeas and roses to the ground. Stupid winter. Pfft.

white bleeding hearts

Our tree peony only had two blooms on it this year, and I almost missed them! Fortunately, I did manage to get a photo before the petals fell.
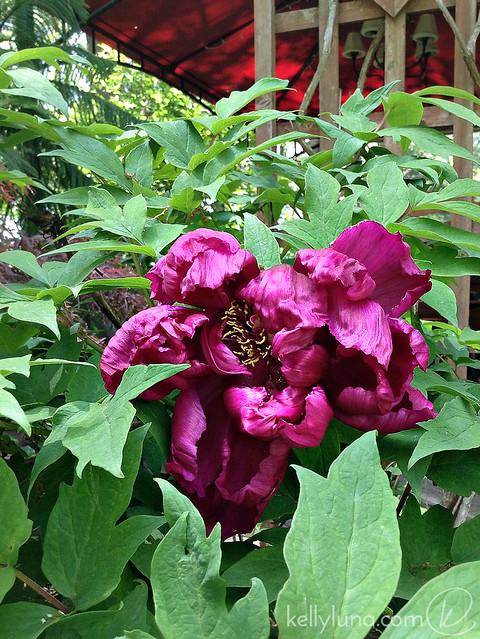
tree peony

Aside from lots of yard work, I also did some artsy stuff. I worked on (and finished) a 12" x 12" panting of a parrot tulip (finished photo yet to come).
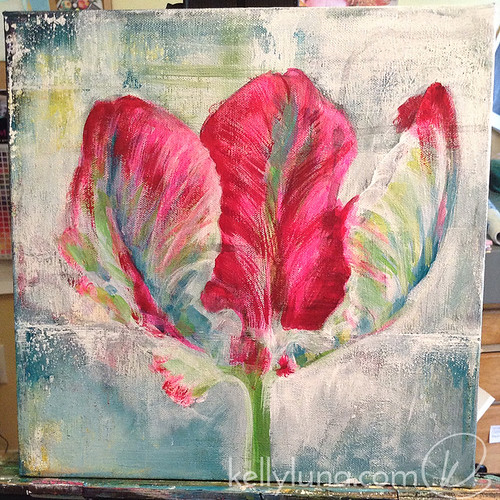
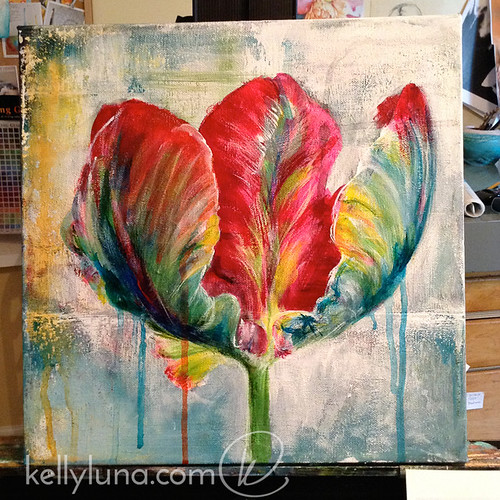
tulip painting1
tulip painting2

And I started a new thing - paper beads. Kind of digging them!
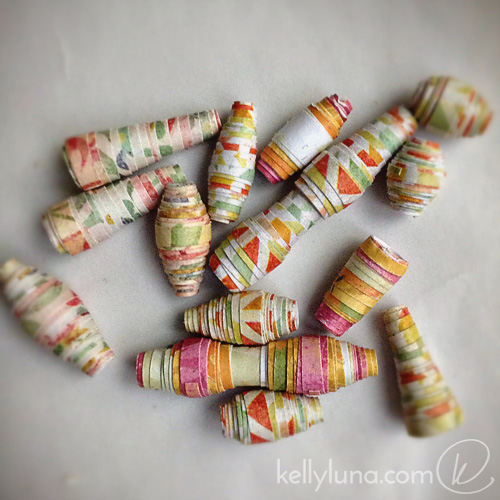
paper beads


p.s. All photos were taken with my iPod Touch. I'm kind of in love with that thing. Don't tell Dwight.

On second thought, it's OK. I'm pretty sure he knows. He has one too, and I think he's got a crush on his, so we have mutual understanding.

Monday, January 24, 2011

DIY Necklace Holder

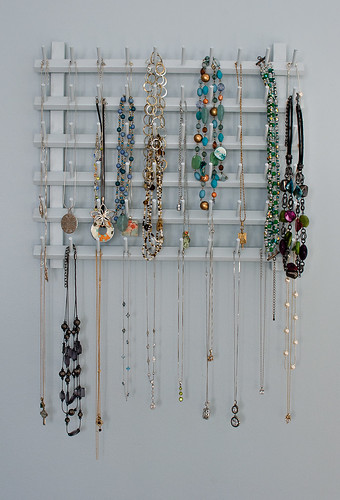
necklace-holder-front

I've been wanting to get or make some sort of necklace holder for a little while now. Dwight likes to buy me necklaces and I let him, so I've managed to accumulate quite a few. I have two jewelry boxes but neither are ideal for necklace storage. They were becoming a bit of a jumbled mess.

I tossed around a few ideas but landed on this one when I saw the thread holder in the Wal-Mart craft section and a light bulb went off. I snatched up the holder and knew just what to do with it.

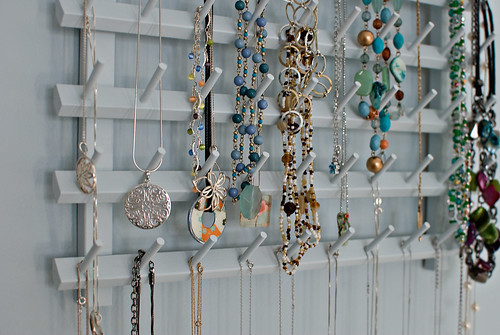
necklace-holder-side-detail

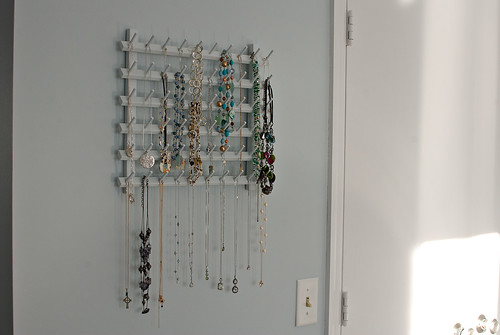
I decided to paint it the same color as the wall to make it blend in, but after seeing it up, I think a complimentary color would have worked, too.

This isn't an ideal solution because the pegs from lower rows are in the way, but it's a far cry from the pile of necklaces I was dealing with. One of the requirements for a hanger was that it would be out of kitty reach. I couldn't even think about getting something to put on my dresser – or hang anything too close to it because the cats would be able to reach it. And like me, kitties are easily distracted by something shiny. They'd see a dangling row of sparkly things and think. "TOYS!" So I hung the rack on the blank spot between the vanity area and the closet.

necklace-holder-side

All in all, I'm happy with it. Once I live with it for a while, I'll see if the idea holds up to real life use.

p.s. The rack came with flip out arms on the back so that, if you wanted to, you could have this sitting on a desk or dresser. I removed those and added hangers to the tops of each vertical arm. The little hanger things were part of a multi-pack, multi-purpose hanging kit. It was a circle with a bar across the bottom that had two pointy ends that you tap into the wood in lieu of a little nail or screw. Super simple and easy to install.

Thursday, November 4, 2010

Shrug Pattern Roundup

Remember this?

shrug-finished

Well, Annette over at Craft Stew compiled a comprehensive and fun list of all kinds of free DIY shrug patterns, and she included mine! You can check out my How To: Make a Shrug from a T-shirt here.

Head over the Craft Stew for ideas and inspiration, including a few "no-sew" tutorials. Thanks, Annette!

Monday, May 17, 2010

The Oddest Things Make Me Happy

HunkyDory-fanned2

On my recent trip/jaunt/quest to Shipshewana, my mom and I made a few stops, one of which left me even more giddy than the one to E&S Sales. What could accomplish this more than inexpensive baking supplies?

Fabric, that's what. Rows and rows and rows of gorgeous, delicious, sob-inducing fabrics.

Seriously, I actually get a bit weepy in really amazing fabric shops. There's just something about all of the COLORS and PATTERNS and the POSSIBILITIES that they represent. Actually, when I start thinking about all of the possibilities and the shear volume of the selection I go from weepy to slightly panicky. It's a bit overwhelming. 

But the main emotion is happiness. If I could, I would decorate my home with bolts of fabric, just like the displays at the store. I'm not kidding. Dwight would think I'd lost my marbles, but how gorgeous would that be? It's like a library of fabric instead of books. Spines of pattern and color, lined up neatly on wooden shelves. Can you hear my sigh of delight from where you are?

Lolly's Fabrics & Quilts is one of those shops. I walk in and sigh. Then gasp repeatedly as I flit from display to display, oohing and aahhing over the various selections. This time, I nearly had sensory overload when one of the the first things I saw were shelves of precut fabric in the most amazing groups of patterns. There were squares of various sizes, but there were also rolls of strips of fabric. What WERE these gorgeous things? I wanted ten of them to scatter over my tables and shelves to use as decoration, never mind opening them up and SEWING with them.

My mom knew what they were. They're called "jelly rolls" and I've been out of the sewing loop for a some time because apparently, they've been around for a little while. These were from Moda fabric. They not only make jelly rolls, they have honey buns, dessert rolls, turnovers, layer cakes and charm packs. I might die from the cuteness.

Speaking of cuteness overload, Moda's blog is called the Moda Bake Shop and has a complete bakery theme —right up my alley on both levels! Their fabric packs are the "bakery" products, the projects using them are called "recipes" and the quilters and sewers that put them together are the "chefs."

*faints*

So not only does Moda have some of the most beautiful, fun, original and sigh-inducing fabrics, they have this fantastic concept and theme to bring it all together.

OK, back to my fabric store adventure... I knew I wanted to get SOMEthing from Moda, but I have to be honest — fabric's not cheap and I had no idea what I was going to do with it — but I had to get something. Had. To. So I settled on a charm pack—a package of 42 5" squares. The hardest part was deciding which pack to get. But I ended up picking "Hunky Dory" by Chez Moi.
HunkyDory-pkg
HunkyDory-pkg-open
HunkyDory-fanned

If you're anything like me — crazy about color, design and fabric — you're drooling all over your keyboard right about now.
HunkyDory-grp1
HunkyDory-grp2

I mean… LOOK at these fabrics—the colors, the patterns. They're fantastic. Now I have to stop staring at them at actually MAKE something with them. Oh, the possibilities…

Sunday, March 21, 2010

How To: Make a Cake Pop Stand

SPD-cakepops-single
the stand in action (before finishing)


What you'll need:
12" round wood table top/bar stool seat
Drill
11/64" bit (or 3/16" if you want a little more wiggle room)
Pencil
Ruler or piece of paper
Compass (optional)
Acrylic craft paint
Small paint brush
Drop cloth or large piece of cardboard

I lieu of a piece of styrofoam for holding cake pops, I decided to make a stand out of wood. I picked up a pre-cut piece of wood at Menards and went to town drilling, measuring and finishing.
pop stand-1

The board is mainly for holding the pops while they dry then for photographing, but you can also use it for presentation. I had cake pops handy so I could determine how far apart to make the holes. I marked the distance on a piece of paper and used it for reference. You could use an acutal ruler, but I didn't want to go looking for mine—paper was easier!
pop stand-2 distance btw

A compass comes in really handy (but isn't absolutely necessary). Find the center of the board, adjust the size to match the right distance...
pop stand-5 next row
pop stand-6 next row compass
Draw a circle
pop stand-7 next row circle
pop stand-8 measure compas

Make cross hatch mark at the correct distance along the circle & drill at the intersections.
pop stand-9 marks
pop stand-10 all drilled

You can drill all the way through if you want, but I decided (after drilling two holes all the way through) that drilling MOST of the way through is better. That way you can pick up the board with pops in it and they won't slide down! I'll just fill the bottoms of those holes with wood putty.

Lightly sand with fine sand paper or a fine sanding block.
pop stand-11 sand 

Then all you have to do is paint it. Acrylic craft paint is the best because it comes in a bunch of colors and is really thick—covers great. But you can use regular wall paint if that's what you have handy.
pop stand-13 paint tube
painting collage

After painting, be sure to put a stick in each hole and wiggle it around a bit so the paint doesn't block the holes as it dries.
 pop stand-21 clean out
pop stand-23 done
I painted mine white to keep it simple, but I think it would be really fun to have them in different colors to match the holiday or occasion. Have fun with it!

Sunday, January 31, 2010

How To: Make a Shrug from a T-Shirt

shrug-finished
I found this quick and easy, not to mention super cute, sewing project at Cut Out & Keep, a craft tutorial site full of fun ideas. This t-shirt shrug is their most viewed project and third most popular and for good reason. It adorable and easy. I bought a $5 clearance shirt at Wal-Mart, but this would be great for the shirt you still love, but got shrunk in the dryer. Don't you hate that? Now you can give it a new life.

This is a perfect "first sewing project" for any age. I started sewing when I was about 10 years old, and this would have been an ideal project. I attempted to make a shirt from scratch with just two pieces of fabric, one for the front, one for the back. It hitched up in the armpits and was just about impossible to get in and out of. But hey, I tried! This would be much better. It actually fits!

When I saw this project, I immediately thought of dance class. It's often chilly in the studio in the winter, at least at the start of class, and I usually wear a cardigan or hoodie. This is a MUCH better alternative, which is why I went with a long sleeve shirt.


Lets get started. Here's what you'll need:

T-shirt, long or short sleeves, round or v-neck. (I used a ribbed shirt which might be a little harder to work with if you've never sewn before, so it's best to stick with a basic t-shirt knit if you're a novice sewer.)

Thread - matching or contrasting. Just remember that matching will blend so you won't see any imperfections.
shrug-thread
2 yards ribbon or cord - I used drawstring like you'd find in a sweat shirt. If you want a less utilitarian look, opt for ribbon. 
shrug-string

Cut the shirt up the front in the center and around the collar.
shrug-cutting

shrug-necklinecut
Turn the shirt inside out. Fold cut edge in about 3/4" – 1". Because this is knit, you don't have to worry about it fraying. You don't need to make a traditional finished hem.
shrug-pinned

Here's where I ran into a slight problem and my first suggestion. There's a hard corner where the collar met the shirt. I ended up rounding it off a bit.
shrug-cornertrim

But I would recommend rounding it even more. I adjusted for the transition by gathering the edge a bit and could have done that a bit more to soften the transition. But if you round it out first, you'll eliminate the need or reduce it.
shrug-cornerpin1
shrug-cornerpin2

In order to match the other side, I took the piece I cut from the first side, matched it up, and cut along the same line. Much easier than eyeballing it.
shrug-othercorner

Continue pinning all round.
shrug-allpinned

Sewing time. This is the quickest part. Create a running stitch along the hem leaving enough room for the ribbon or cord. Double back on any corners and at the beginning and end. This just reinforces those areas. Trim the thread and turn the shirt right side out.
shrug-sewn

Put a safety pin at the end of the ribbon or cord and start threading it through the channel.
shrug-pinstart
shrug-finished string

Done! But don't cut the ribbon until you've tried on the shirt! Leave the ends long until you know how much you need. Oh, and if you have kitties nearby, cut a piece for them before you start. That way they'll leave you alone while you work.
kitties string1

Try it on, adjust the ribbon as needed and bask in the glow of a job well done. Easy-peasy!
shrug-on
shrug-sideview
shrug-back2

I must say that this is one of the very, very, very, very few times when being small-chested is a plus. The gathers are very flattering as is the neck line. That isn't to say you can't wear this if you have normal, adult female size breasts. You'll just have more of a va-va-voom thing going on.

Go forth and sew. And check out the original project page for lots of inspiration for kinds of shirts as well as ribbon and embellishment ideas.
Related Posts Plugin for WordPress, Blogger...