
I've been wanting to get or make some sort of necklace holder for a little while now. Dwight likes to buy me necklaces and I let him, so I've managed to accumulate quite a few. I have two jewelry boxes but neither are ideal for necklace storage. They were becoming a bit of a jumbled mess.
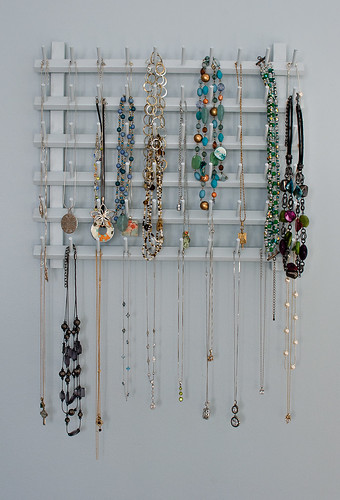
I tossed around a few ideas but landed on this one when I saw the thread holder in the Wal-Mart craft section and a light bulb went off. I snatched up the holder and knew just what to do with it.
I decided to paint it the same color as the wall to make it blend in, but after seeing it up, I think a complimentary color would have worked, too.
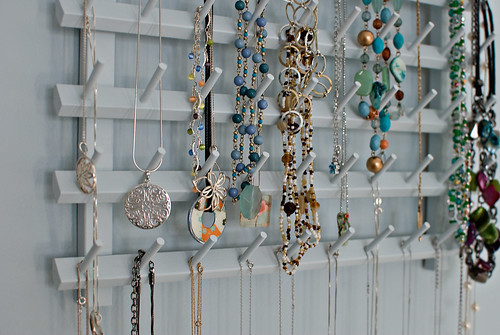
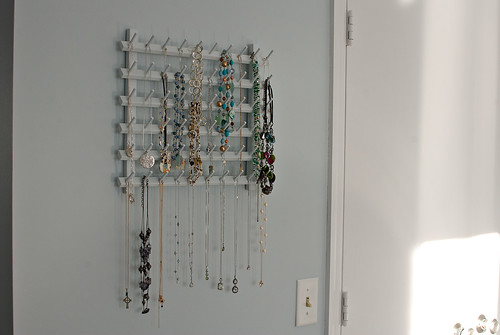
This isn't an ideal solution because the pegs from lower rows are in the way, but it's a far cry from the pile of necklaces I was dealing with. One of the requirements for a hanger was that it would be out of kitty reach. I couldn't even think about getting something to put on my dresser – or hang anything too close to it because the cats would be able to reach it. And like me, kitties are easily distracted by something shiny. They'd see a dangling row of sparkly things and think. "TOYS!" So I hung the rack on the blank spot between the vanity area and the closet.
All in all, I'm happy with it. Once I live with it for a while, I'll see if the idea holds up to real life use.
p.s. The rack came with flip out arms on the back so that, if you wanted to, you could have this sitting on a desk or dresser. I removed those and added hangers to the tops of each vertical arm. The little hanger things were part of a multi-pack, multi-purpose hanging kit. It was a circle with a bar across the bottom that had two pointy ends that you tap into the wood in lieu of a little nail or screw. Super simple and easy to install.
That is absolutely beautiful! You are so creative :)
ReplyDeleteso pretty!
ReplyDeletewww.jewelrydosedaily.com
What a great idea! And I love all your necklaces. :)
ReplyDeleteThanks everyone!
ReplyDeleteHow do you make this?
ReplyDeleteAnon - I didn't construct the holder from scratch, just painted a thread holder that you can find at any fabric store or place like WalMart that sells fabric and notions.
ReplyDeleteI have used those expandable cup racks as well.
ReplyDeleteAlso what you can do is hang that thread rack at an angle instead of strait up and down ..that way the chains will have room to flow clear of the other pegs.
the cup racks don't have as many pegs as the thread holders but the pegs are longer and will hold multiple chains on each peg
I like this idea and immediate thought that the lower rows would interfere with upper rows. So, I'm thinking here.... What if you put something behind the rack at the top so that it sticks out from the wall a little bit. This will move the upper rows out a little bit and may be enough to clear the lower rows. Also, cutting down the little dowel rods so they don't protrude as much. Just thinking out loud here... I think it looks great!
ReplyDeleteTracy - I completely agree! I was thinking the same thing about having it at an angle instead of flat just the other week. If you come up with a solution, I'd love to hear it - and add it to the end of the post! Thanks for stopping by and leaving the comment!
Delete