Sunday, September 30, 2012

Finished – Untitled (for now) Woman

untitled-face-text-all

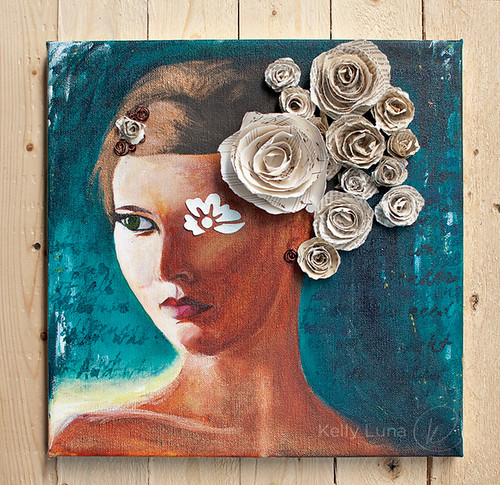
I finished it - finally! I wrote a WIP post way back in April (!) and am happy to say she's finally finished.

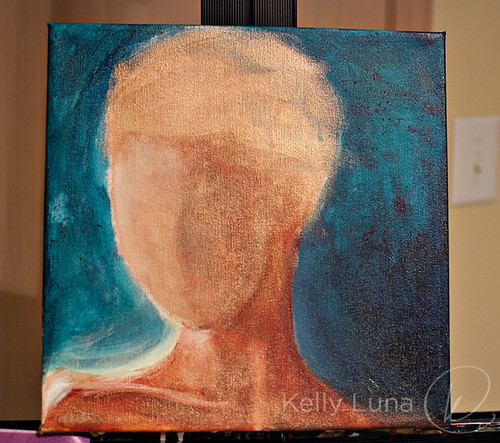
Some of the WIP:
painted face-beginning
WIP-face
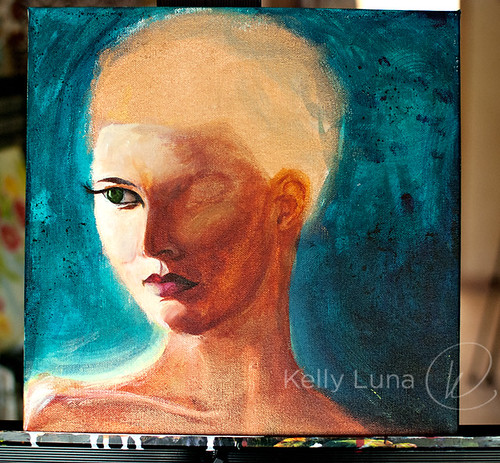
(where I left off on the last post-following is later in the day after fixing her nose)
face-nose fixed


I anguished over where to go from just about the point I left her in late April. I knew I wanted paper flowers either in her hair or representing her hair, but kept putting off making the decision. I was afraid of "ruining" what I'd started.

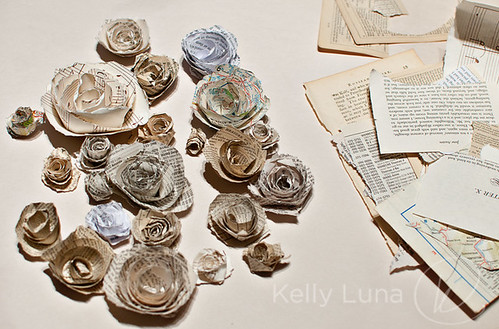
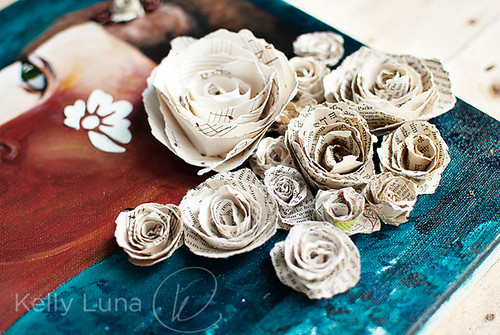
So I made paper flowers.

paper flowers

Lots of paper flowers.

And after determining that I did NOT want her whole head covered in them, came up with a pleasing arrangement, took a photo so I'd know what I'd liked...

flower placement

Then set about painting her hair. I also decided to add some stenciled, if illegible, words to the background. I just wanted to break things up a bit, add some more texture and interest, pull in more of the mixed media feel I was going for.

untitled-face-text-detail

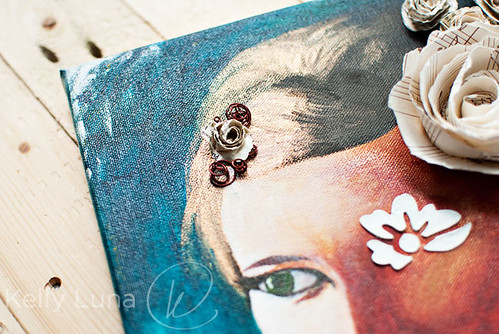
The inspiration photo I used showed some sort of barrette in her hair, so I fashioned one for my girl out of wire and a paper flower. I also added a wire "earring" to help tie things together.

painted face-hair

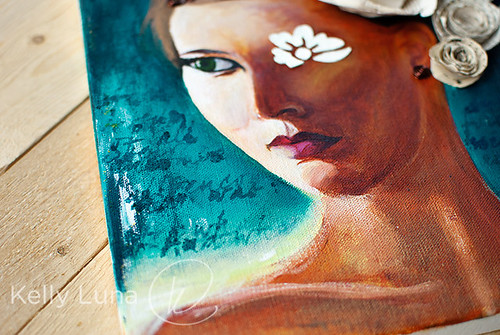
untitled-face-flowers-detail

The flower "eye" is made from light modeling paste and a flower stencil. I'm very pleased with how she came out even though I got very stuck for a long time. I needed to let go of feeling like I was going to "ruin" it or make a mistake. As Donna Downey says, "Forward motion." Just keep moving forward and the right things will emerge.

Free Vector Quatrefoil Patterns

{This is just a thumbnail composite of all the colors available for download below.}


Hey guys! I needed to make a quatrefoil pattern for work and thought I'd share it here. Each color is a full 8.5" x 11" sheet, half with the small pattern, half large. All of these files are PDFs but are Illustrator-compatible, so they're true vector art.

Hope you like them. I'd love to hear how you plan on using them. Leave a comment on how you have or might use these and/or links to your projects.

Enjoy!

{TAN}
{BLACK}
{DK RED}
{MAGENTA}
{ORANGE}
{BUTTER}
{LIME}
{DK GREEN}
{TEAL}
{LT BLUE}
{DK BLUE}
{PURPLE}
{KELLY GREEN}
{GREY}
{CHARTREUSE}

Bonus not shown (because I had one too many for the layout)
{SEA BLUE} color is in between teal and lt blue

Saturday, August 4, 2012

Now Starring {in my dreams}...

For whatever reason, I've had some unusual people showing up in my dreams lately. As is typical with dreams, I can't recall many specific details, just random images, but I do recall some of the cast of characters. Some are the usual people found in my real life, but lately, they've been a little more... famous.

Example #1: The other night Hermione made an appearance. Not Emma Watson. Hermione. (Although it *was* Emma as Hermione.) The only circumstance I remember about her role in my dream was talking about some classes she was taking, specifically a speech/radio class, and I remember telling her, "Oh! I'd love to do voice-over work. I think that would be so much fun." "You should definitely take this class, too" she replied.

Exciting, right?

Example #2: Just last night, I had an even more famous star, royalty even. Yes, Prince William and his lovely bride were in my dream. Really. I don't know why or recall how we happened to be acquainted in my dream, but I do recall that I offered to make them some "crusty bread" since they were hungry.

Really.

Oh, and Kate had on a lovely, just-below-the-knee flowy skirt, brightly (but not heavily) patterned with a floral design. Not icky and grandma-ish, but fresh and summery - wide, red band at the top. Worn with a plain white shirt. And if memory serves, she arrived on a bicycle. (Yeah, I know.) Now that I think about it, she kind of a 50s thing going on with the skirt and bike. She looked adorable.

There you have it. A glimpse into my strange and celebrity-filled dreams.

Thus endeth my random post. You may now go about your regularly scheduled Saturday events.

Sunday, July 29, 2012

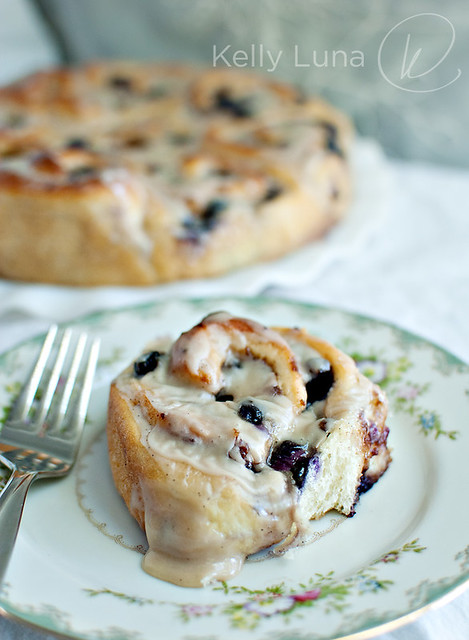
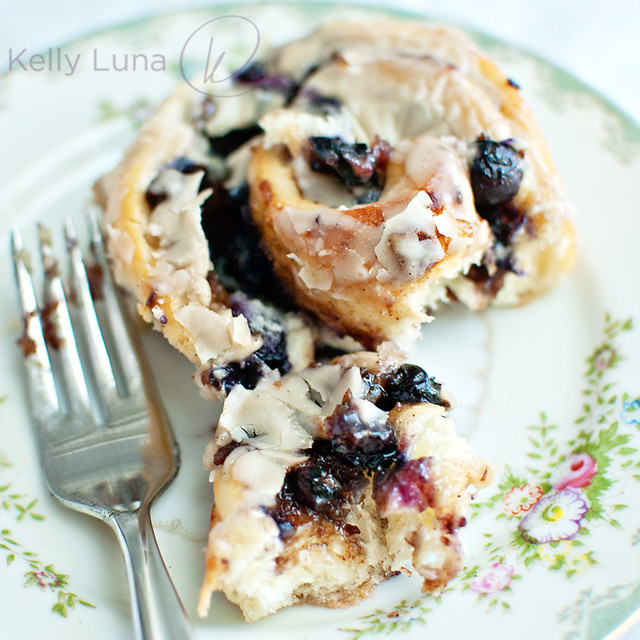
Bourbon Date Blueberry Cinnamon Rolls

roll-plated

Inspired by the über-talented Barb over at Creative Culinary, I just *had* to make these rolls. You see, she tweeted about the bourbon date cinnamon rolls she was making and I couldn't get them out of my head. I knew I had the ingredients on hand, so when I got home, I immediately set to making them.

I'm not going to include a proper recipe in this post because I was seriously winging it, but I'll let you know what I did so you can give it a go. What I would suggest is going over to Barb's blog and check out her recipe. I'm sure it is phenomenal as everything I've made of hers — and there have been MANY – are keepers.

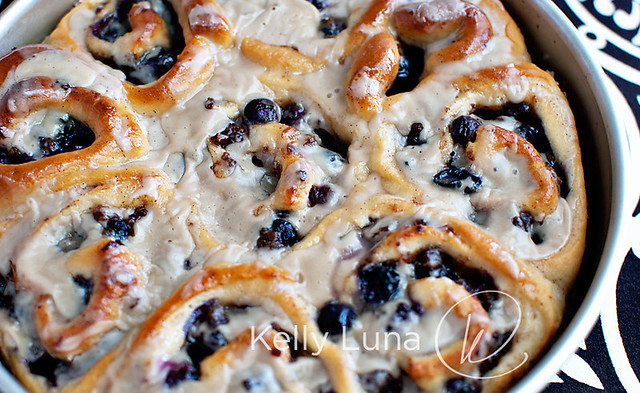
rolls in pan

I used Peter Reinhart's cinnamon roll recipe for the dough, with the exception of the egg. Oops. I completely spaced it when mixing the dough, hence the reason for a properly assembled mise en place!

I roughly chopped some dates and put them in a bowl, poured some bourbon over the top and let them soak while the dough was rising. When it was time to assemble the rolls, I ran the dates and bourbon through my food processor to create a lovely and fragrant paste. I added about 1/4 cup of sugar (could have used more, but the sugary icing made up for the lack) and 2 heaping teaspoons of cinnamon. Mixed that all together and spread it over the flattened dough. I then sprinkled about a cup and a half of fresh blueberries over that, rolled it up and cut them into rolls.

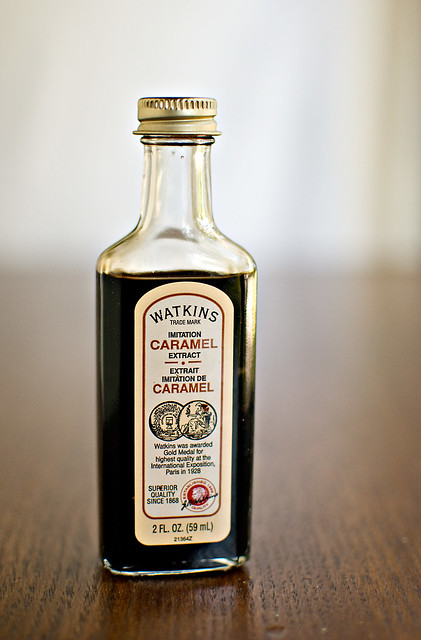
I decided to go with a simple powdered sugar and milk icing but added a half teaspoon of vanilla extract, seeds from one vanilla bean, and half a teaspoon of caramel extract. (I LOVE this stuff, and you might remember that I've used in around here before in these cookies, oh and these, too, among other things.)

caramel flavoring

I used at least a cup and a half (probably more like two) of powdered sugar, then just added enough milk to make it the correct consistency, and drizzled it over the tops of the rolls, being rather generous with my "dripping." Nothing wrong with that!

roll-plated-fork

The verdict: gooey, sweet, fresh rolls begging for a cup of coffee or a tall glass of milk.

Remember, you can get the recipe for Barb Kieble's amazing Date, Walnut and Bourbon Cinnamon Rolls (with cream cheese frosting - OH MY!) over at Creative Culinary.

Sunday, July 22, 2012

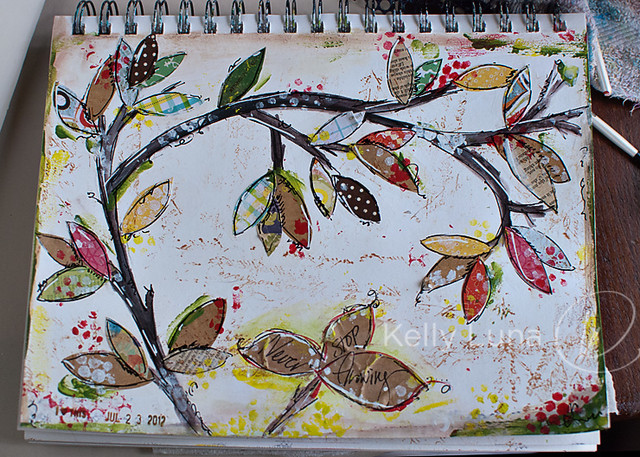
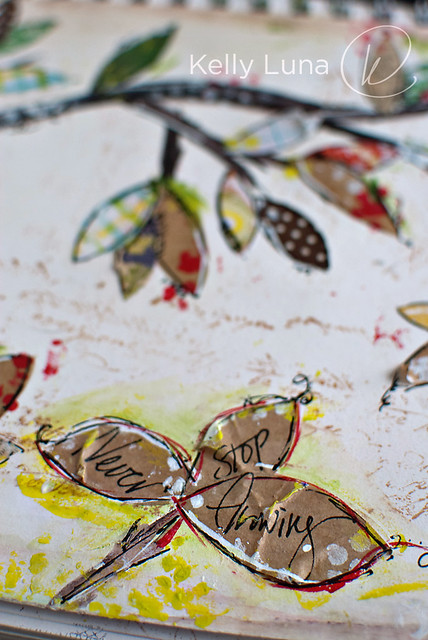
Workshop Journaling – "Never Stop Growing"

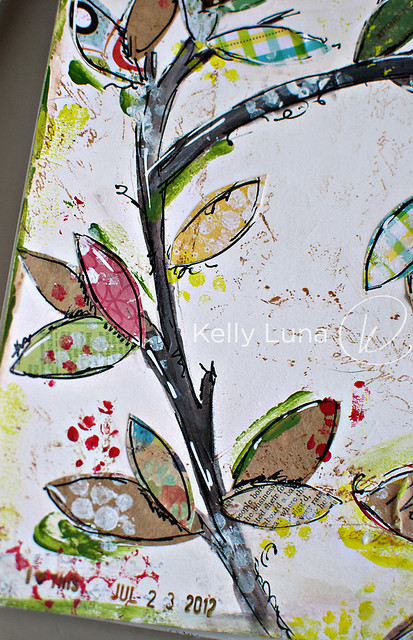
7-23-12 Art Journal-Growing

So I have this bad habit of signing up for workshops and puttering out about 3/4 of the way through - or sooner. In this case, much sooner. I signed up for the Art of Wild Abandonment class with Junelle Jacobsen and Christy Tomlinson, and it's SO PACKED with information that I got a rather overwhelmed and stopped watching the videos and doing any work with the workshop assignments. It's a good problem to have in a workshop, I admit - so much information. I've loved everything we've done so far and I'm not even through week 2. It's a 3 week class, but don't let that fool you. There are at least 3 projects each week and about 10 videos. Each. Week. You might see how I got behind!

7-23-12 Art Journal-branch

ANYway. I made a promise to myself to get back to the videos and get messy again with my art journal. I've neglected it in a terrible way. I want to create more often (every day!) and want to practice lots of different techniques, and one of the ways to do that is dust off my art journal, grab my laptop and supplies, and get the most from the Art of Wild Abandonment workshop.

7-23-12 Art Journal-branch

Today I did just that and had the MOST fun with this page. Ahhhh. It's good to be back.

Materials used:
Gesso
Inktense pencil
Acrylic craft paint
Pen
While poster paint pen (Sharpie brand)
Distress ink
Roller word stamp
Various papers
Brown paper bag
Punchinella/sequin waste

Saturday, July 14, 2012

Quick Tip – Using Partially Dried-out Modeling Paste

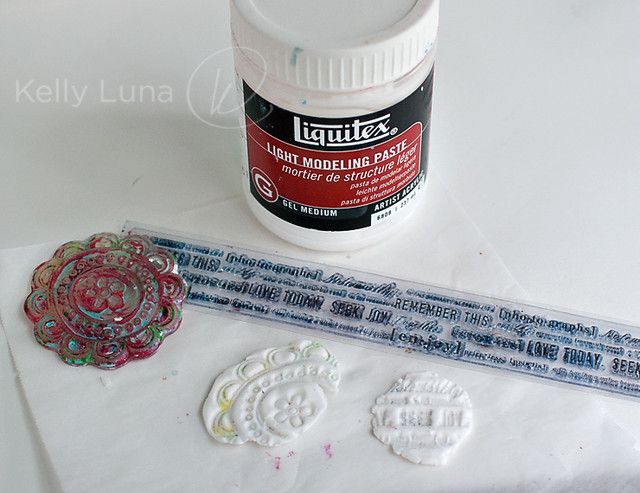
stamped paste group

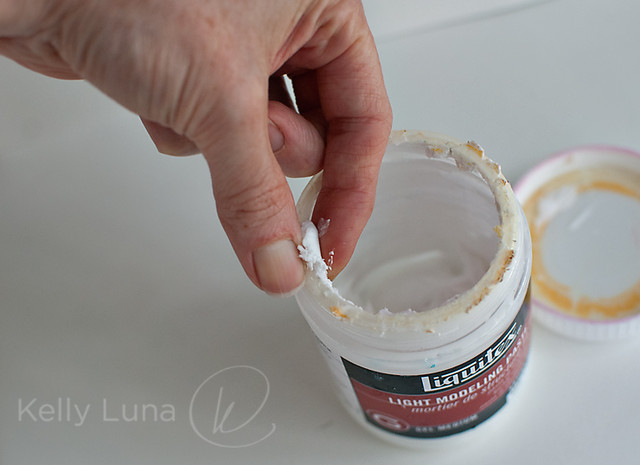
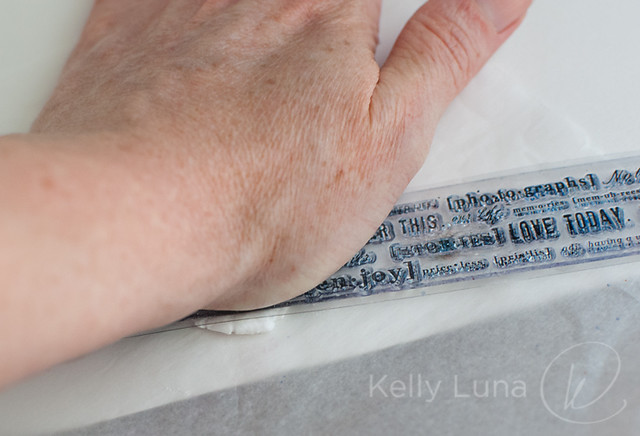
This is something I accidentally discovered today when I went to use my modeling paste on a work in progress. There was a big blob of paste on the edge of the jar left from the last time I'd used it where I'd scraped the leftover paste. Obviously I should have stirred the leftovers back down into the jar because that blob had dried out... but not all the way. I pulled it out to throw it away, but when I grabbed it, I realized it was the consistency of clay or play-dough.

light modeling paste

paste-consistency

*lightbulb*

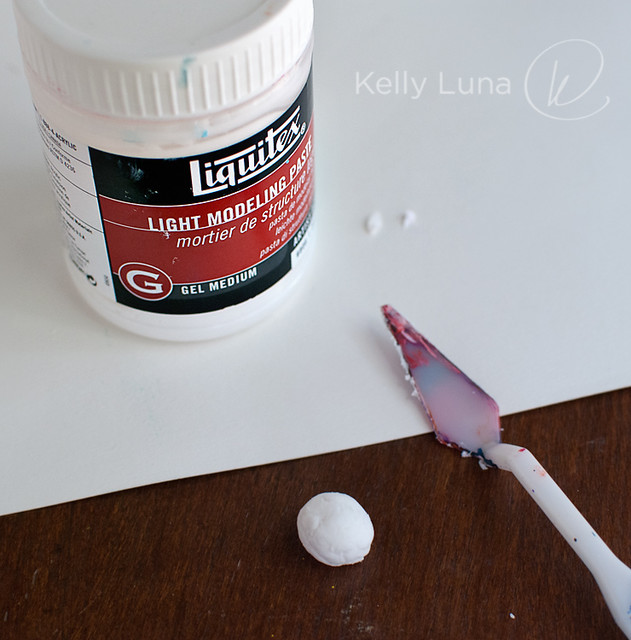
paste ball

stamping paste

word stamped

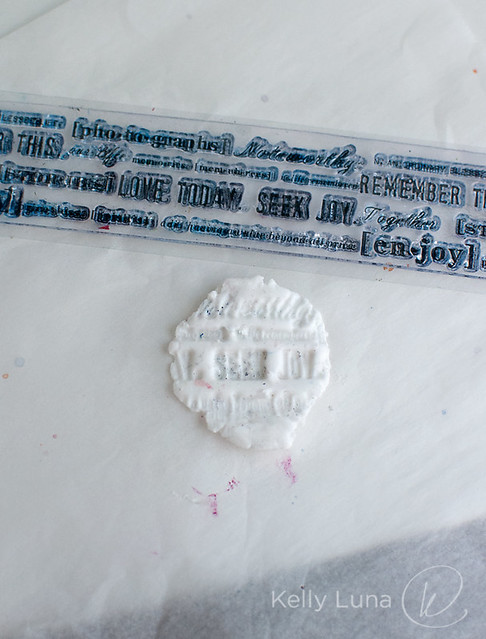
I squished it together, grabbed a stamp, and pushed it into the paste. I'll let it air dry then have it on hand for a future project. Ta-da! Fun dimensional piece using materials I had on hand and was just going to throw away.

flower-paste
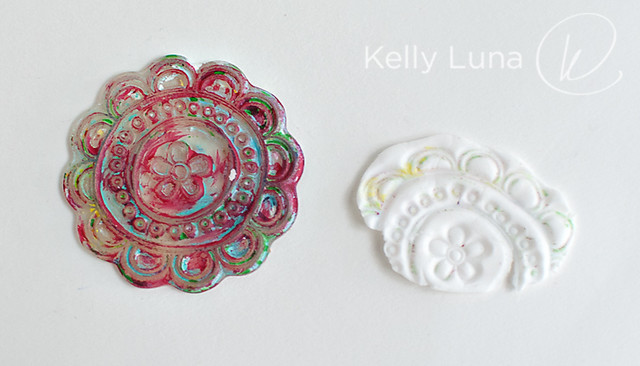
This is the original stamped piece I made with the large blob of paste. The one with the word stamp was done with paste I scraped from around the top edge of the jar using a pallet knife. As you can see, I use paint on my stamps and don't clean them very much. Ahem.

So, if you happened to have some mostly dried-out bits of modeling paste, give this a shot! You can attach the dried piece to a canvas or journal page, paint over it, layer with it - whatever you want.

*Just be sure you use LIGHT modeling paste because it will be flexible when dried and much easier to work with than regular or "heavy" modeling paste – that kind is very brittle when dry.


Related Posts Plugin for WordPress, Blogger...