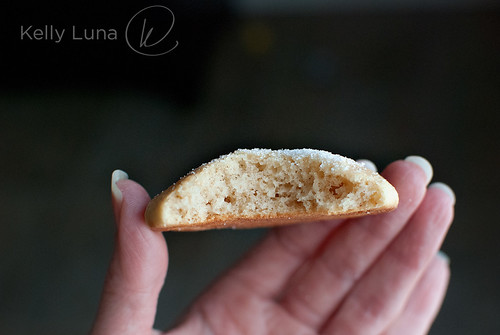
These aren't THOSE soft sugar cookies, the ones going around duplicating the grocery store cookies (although I DO want to try those). These are the soft sugar cookies my mom would make when I was a kid. She got the recipe from a neighbor who got it from... who knows. Basically, this is what I consider our family recipe. I've been wanting to share it with you for a couple of reasons. 1. Because they're awesome. 2. Because they're easy. And 3. Because I haven't had them in YEARS and I really needed to make them.
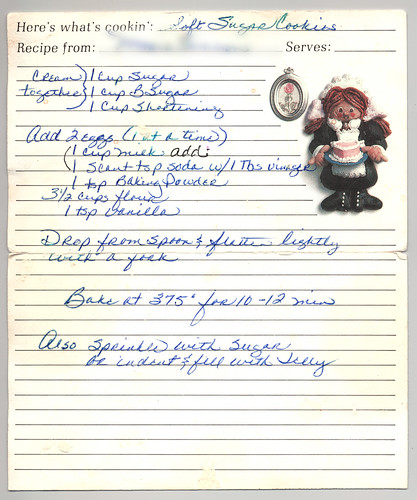
Doesn't my mom have pretty handwriting?
These are not pretty cookies.
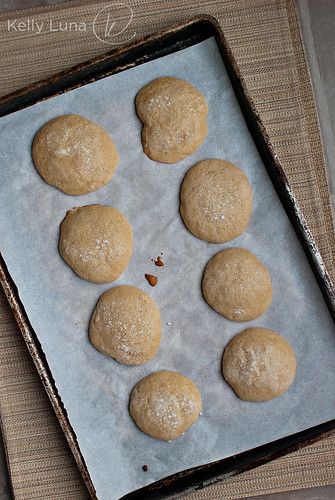
They're not going to win any cookie beauty contests, but I'm betting they'll win your family and friend's seal of approval. They're light and fluffy and it's really easy to eat three of them and not even realize it. Wait. Ok, so that's probably NOT an endorsement if you're looking to avoid sweets. Feed 'em to your kids, co-workers and neighbors. They'll gladly take them off your hands. So let's make them, shall we?
What gives these their unique texture and taste is some fun chemistry. (Kids love this - I always did, and still do!)
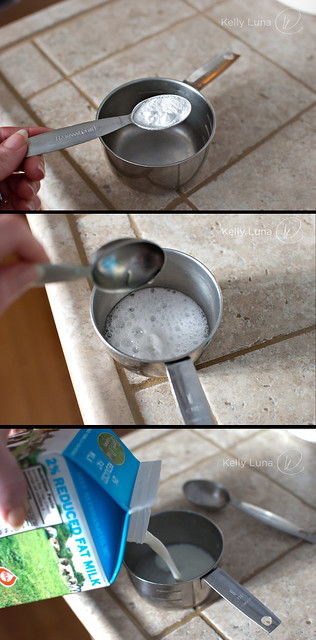
You take a scant teaspoon of baking soda, put it in a one-cup measuring cup, add a tablespoon of white vinegar and watch the magic. Swirl it around to dissolve completely, then fill the cup with milk. Any kind is fine. We grew up drinking 2% but I don't see why skim or whole wouldn't work.
After you cream the butter and sugar, add the eggs and vanilla, you add the milk mixture. It's going to get ugly.
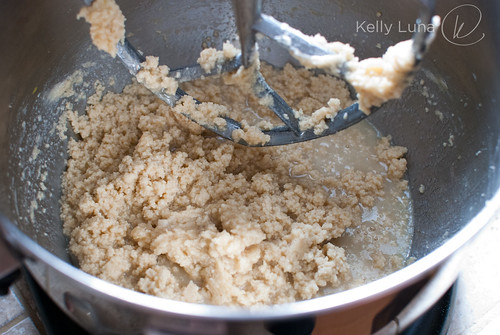
But don't worry. After you add the dry ingredients, it comes together beautifully.
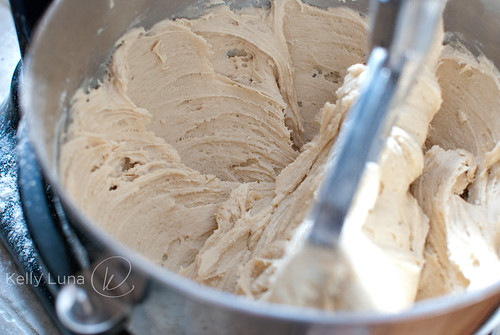
And sticky. You've been warned.
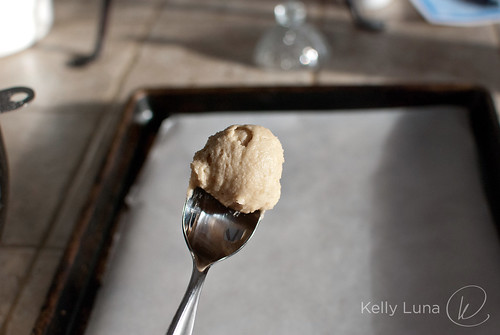
We're going old school with this, just like I did as a kid, and using a regular spoon to get these on the pans. I would normally use one of my cookie scoops, but I wanted to keep this authentic.
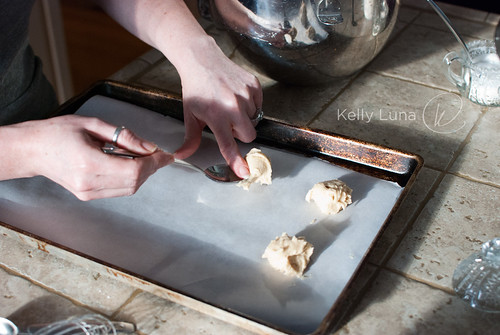
When you flatten the cookies slightly (you can use a fork like it says in the hand written recipe card, but my mom never did) be sure to dip your finger in water. It'll keep if from sticking. I forgot that on the first pan-full. Oops. Oh, and if you do flatten with a fork, dip that in water first. You'll thank me.
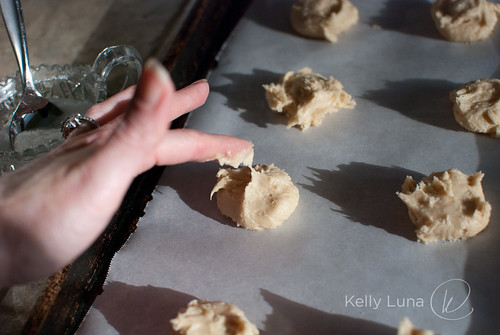
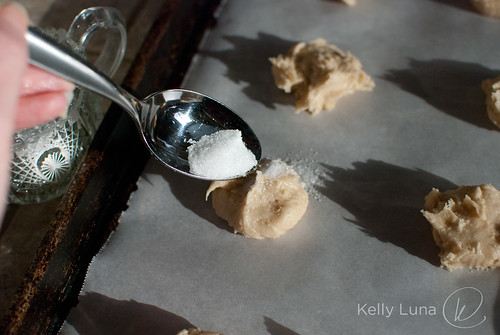
Now sprinkle some sugar on top and pop them in the oven.
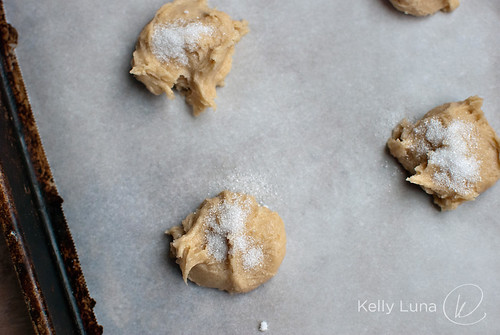
Bake until the tops are no longer glossy. These won't get brown unless they're severely over baked. They'll melt and flatten, puff way up, the bottoms will brown, and the tops will look done. That's when you pull them out. I recommend NOT using insulated pans. The cookies don't puff up as nicely on them. If your pans are dark, turn the oven down a bit to avoid over-browning the bottoms.
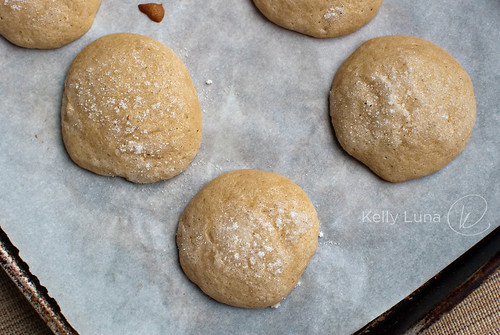
You can sprinkle more sugar over them just as they come out of the oven if you like. You can also use colored sugar for a more festive look.
I hope you like these as much as I do. Let me tell you, a whole flood of memories came back when making and eating these. I love how food can do that.
Soft Sugar Cookies
Yields about 5 - 6 dozen cookies depending on size
Ingredients
1 cup granulated sugar
1 cup brown sugar
1 cup butter (Original calls for shortening. We always used margarine growing up, but these worked great with butter.)
2 large eggs
1 tsp vanilla
1 scant tsp baking soda
1 Tbsp white vinegar
1 cup milk
3-1/2 cups AP flour
Directions
Preheat oven to 375°F if using lighter pans, 360°F if using darker pans.
Cream butter and sugars in mixer. Add eggs one at a time, beating well between and scraping bowl as needed.
Put soda in a one-cup measuring cup. Add vinegar and swirl until all soda is dissolved. Ooh and aah at the chemical reaction! Add milk to fill the cup.
Add milk mixture to butter mixture. It will look curdled. That's what it's supposed to look like. Really.
Add flour and beat until smooth.
Drop by spoonfuls on to parchment lined baking sheets. Flatten slightly with finger or fork, dipping whichever you choose in water first to prevent sticking.
Sprinkle with sugar. Bake 10-12 minutes or until top is no longer glossy and bottoms are lightly browned. Remove to cooling racks.
Best eaten the day you make them, but will keep 3 days in air tight container with layers of wax paper between. The tops will get a little sticky. That's normal. Just toss some more sugar over the tops. Problem solved.
Enjoy! And try not to eat too many all at once.

A whole flood of memories came back to me just reading this post :) I think me & my bakers might need to make these soon. Mmmmm.
ReplyDeleteI would swear that was MY mom's handwriting!
ReplyDelete